The film for this walkthrough is available
at the bottom of this page.
by David Shaw - SatanTM on bungie.net
|
This is the twelvth mission of Myth:
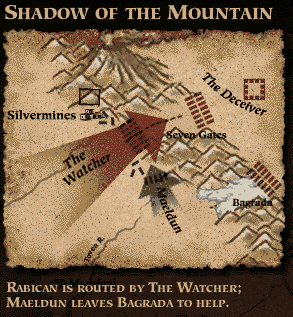
The Fallen Lords. The story progresses as follows. You are still carrying
the arm of the Watcher that you got in Silvermines. Your forces are being hounded
endlessly by the enemy forces of the Watcher (a Fallen Lord). Your troops
are too tired to go on, so they find a hill to make a stand. This mission
is that attempt to face the oncoming force and defeat them.
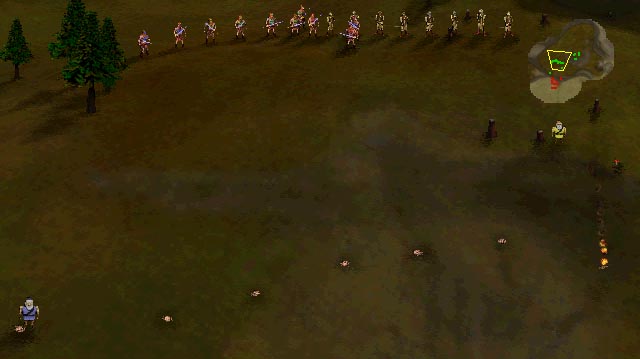
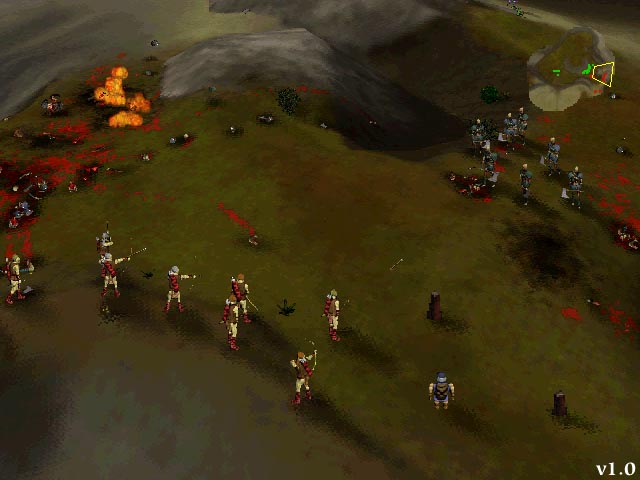
If that weren't enough, the Watcher has used his magic to turn some of your own men against you. The forces you face will consist of myrimidon and thrall, but also numerous dwarves and archers. You must use your terrain advantage to defeat them. As you can see in the picture to the left, you get a sizeable force to help you with this level. There are berzerkers, archers, a journeyman, and three dwarves. The dwarves will be your success or failure in this level, because they will see that the enemy dwarves will live or die (and the enemy dwarves are the challenge of this level). You can see in the picture my setup as I prepared for the first wave. This wave will consist of dwarves followed by myrimidon, then thrall, followed by more dwarves, and finally more myrimidon. |
|
|
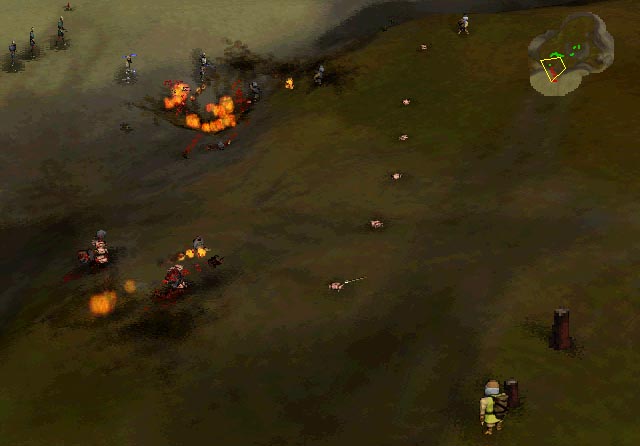
The first wave is
shown to the left, with the second and third waves following soon after.
The dwarves should be easy prey for your dwarves. When you kill their
dwarves, they drop their satchel charges. Another grenade to that spot
should so as you see here, blowing up all other dwarves nearby. I also
placed a few charges on the hill before the battle for some extra
explosions along the way. It's not really necessary but it might make
things a little easier for you.
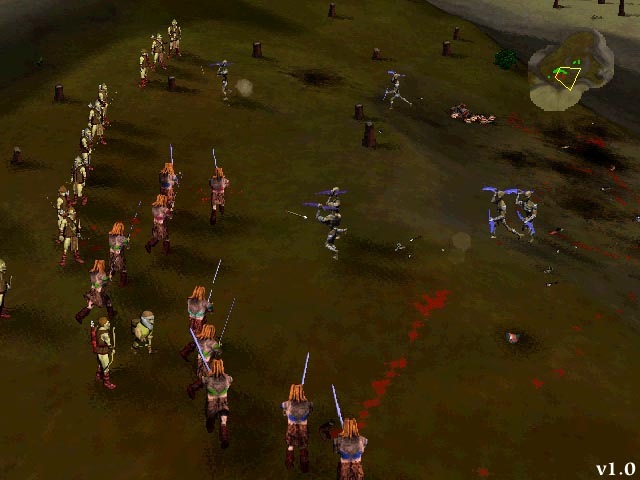
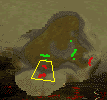
If you are lucky, your dwarves will be able to kill the myrimidon as well. If not, be ready to rush in with some berzerkers to help them. Once the myrims are dead, let the dwarves go back to work, eliminating the thrall. Thrall are always easy for dwarves, but this is especially the case downhill. Then let the dwarves take out the next wave of enemy dwarves as well. As you can see in the picture to the left, I didn't handle the final part of wave 1 well. The last group of myrimidon went after my archers and managed to kill two of them before I could intercept with berzerkers. Don't make the same mistake I did. |
|
|
Immediately after finishing off wave 1, move ALL your troops over
to the northern face of the hill. Wave 2 is already gathering there to
attack, and you need to be ready. You can see mytroops (green), as well as
the enemy troops (red) on the map to the left.
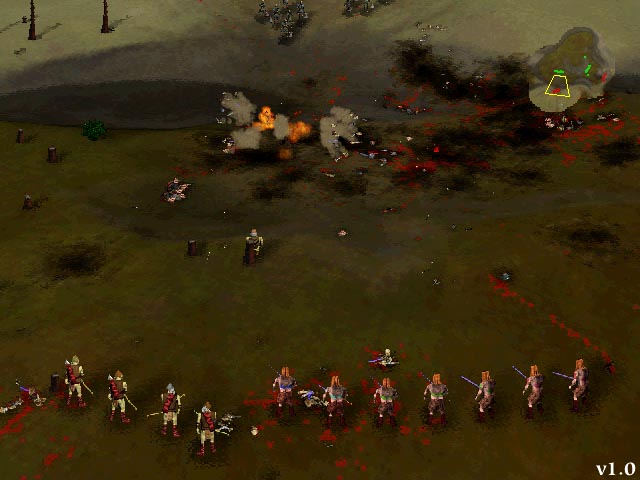
The first group to climb the hill is shown in the picture to the left. It is a group of thrall. Your archers should be lined up such that (a) the enemy archers' fire cannot reach them and (b) they can hit troops coming up either of the two slopes that give access to the hill. Position a dwarf on each of the two slopes as well. Your dwarf and archers should be able to take out the thrall without too much of a problem. The second attack of wave 2 is shown to the left. As you can see, there are thrall coming up the right face. See that big explosion on the left face? That's my dwarf taking out a group of enemy dwarves scaling the hill. You MUST kill the dwarves before they get in range to hurt your guys. The archers should help, but it will be the dwarf who eliminates the threat. Following closely behind the thrall on the right face is another group of dwarves. Use the dwarf and archers to take them down. While they are fighting, send a group of berzerkers, a dwarf, and some archers back over to the original hill where wave 1 attacked. You need to be there to prepare for wave 3. You can see this if you look at the inset map in the picture to the left (click on any picture for a larger view of it). |
|
|
Wave 3 is not tricky. The trick was only to be prepared for it.
This wave consists of myrimidon, followed by thrall, which in turn are
closely followed by a large force of archers. As you can see in the map to
the left, my troops were in position and awaiting the attack.
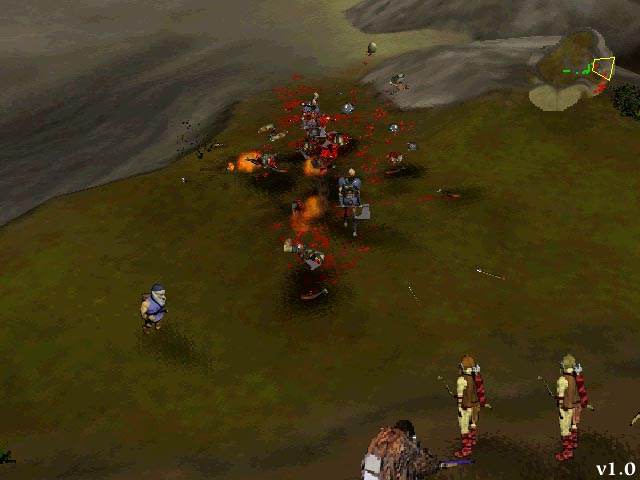
The picture to the left shows the myrimidon being vaporized by exploding satchel charges left over from wave 1 and set off by my dwarf. If you can do this, it's worthwhile to do so. If not, don't worry about it -- the berzerkers should be able to handle whatever the dwarf cannot. Also there is a trow down at the bottom of the hill for a minute, but he is a general and will not attack (you'll meet him again in Forest Heart). After the myrims are dead, use the dwarf to kill the thrall. Meanwhile send your berzerkers around the thrall and let them kill the archers. With this done, retreat them back up the hill and let the dwarf finish off any thrall that remain. When you've done this, move all your guys back over to the other hill and get ready for the immediate attack of wave number 4.
|
|
|
The fourth and final wave is not difficult if
you still have some troops. You can see it on the map to the left. Note
there are three groups of "red". The right-most one is the same group of
archers from wave 2. I did not bother to attack them because (a) they
could not reach my forces and (b) they will not dare come any closer. Just
stay away from them and you'll have no problems.
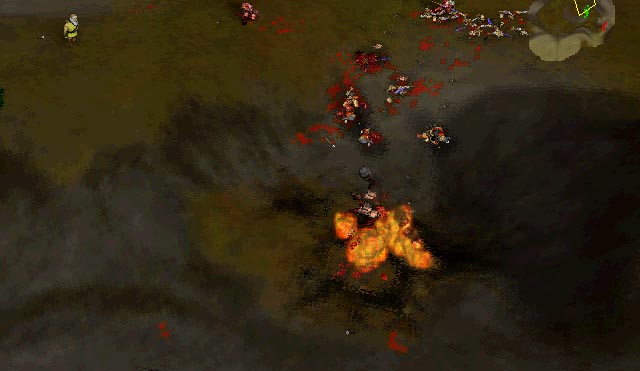
The middle group of red will attack first. It is a small cluster of archers. Use your now-veteran archers and tear them up. It should be a slaughter with your terrain advantage. Immediately after this group attacks, the left-most group will attack. First it will be a group of archers. I used my berzerkers (ALL you have alive) to go kill them. The reason you hould send them all is they will be quickly accompanied by a group of myrimidon, and you'll need the berzerks to kill them. As you finish the myrimidon, you will see a group of dwarves approaching on the left. Bring your berzerks back up the hill to safety. Use a dwarf to blow them up (see picture), and you will be victorious.
|