The film for this walkthrough is available at the bottom of this page.
by David Shaw - SatanTM on bungie.net
|
This is the eleventh mission of Myth: The Fallen Lords. The story is that one of the Fallen Lords, The Watcher, lost his arm in a battle long ago. The Head (a magical severed head that helps the Nine leaders of the Light) knew where the arm was, so you and your group are sent to retrieve it. The arm contains magic that can be used against him. This is important because The Watcher is closing in on your army and you'll need some help to defeat him.
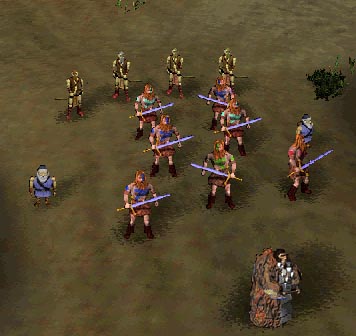
You start this mission with two dwarves, four archers, seven berzerkers, and a journeyman to carry the arm. The journeyman is controlled by the computer until you get control of the arm. Then you must successfully lead him to safety out the road that leads past the graveyard. The key to success on this level is to NOT FIGHT. That's right. There are six separate Fallen patrols on this level. You only need to fight ONE of them to succeed and escape. I have completed this level by facing and defeatign them all, but it was long and arduous, and only my journeyman survived. In the manner I am about to show you, you could get away losing only a few berzerkers if you're careful. |
|
|
As you move towards the arm (swing a little to the east, near the water, just to be safe), you'll see a patrol up ahead. Stop all your troops immediately and wait. The patrol will walk off eventually without seeing you. The patrols consist of thrall, soulless and a Fetch. The Fetch is a particularly nasty creature. It is semi-female, and is basically some kind of energy being that walks around wearing the skin of her victims. Fetch shoot bolts of lightning out of their fingertips that can reduce a large force to nothing almost instantly. The only thing about them is they are weak and cannot attack at close range. They also can hurt their own troops with their blasts because their aim is approximate at best.
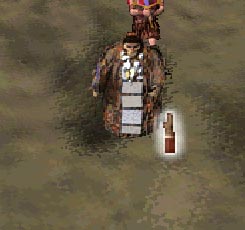
When they are gone, move on to the arm. The location is shown in the map to the left, but the journeyman will take you there if you follow him. He is show picking up the arm in the picture to the left. |
|
Groups 2 and 3
Groups 3, 4, and 5
Group 5 fading |
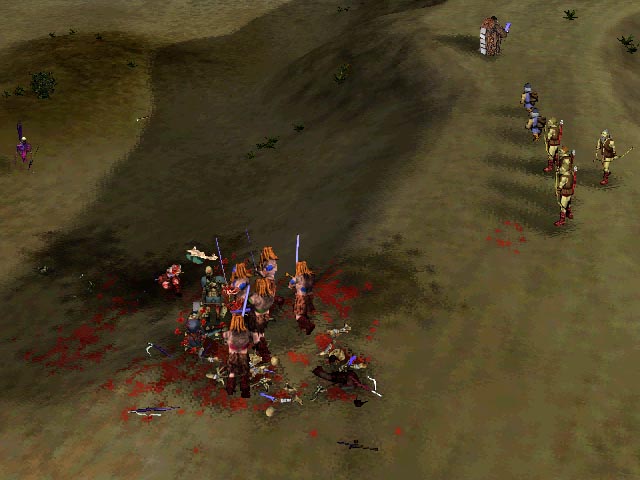
After you get the arm, move back south towards the start as shown in the map to the left. You'll see the second patrol in front of you. Move south until you see a third patrol. The position of this third group is shown in the second map to the left. We're getting fairly surrounded now. Time to fight? Nah.
Continue moving forward, away from the troops. As the second army falls behind, you'll come up on groups four and five, while group three remains a threat. See the third mapto the left for a picture of armies 3, 4, and 5. Don't worry, I'll get you out of this. Move up north-by-northwest, away from all the armies. They are not chasing you, but rather just walking their patrols hoping to find you (I'm guessing that the undead are not particularly perceptive). As you move northward, groups three and four will fade out. You can see group five fading away as well in the fourth map to the left. If you move quickly and carefully, you'll find yourself having faced no enemy forces at all, with all your troops still intact. This is good, because the sixth group is guarding your escape, and you must face them to get out. |
|
|
The map to the left shows the sixth and final group of enemies. Notice that they are on the other side of the road leading to the graveyard. You have two options here. The first option is to avoid conflict and run up the road. I don't know if this will work, but it might.
The second option is the one I took. I send my berzerkers to fight the force while my dwarves and archers moved to higher ground to attack. Meanwhile, the journeyman ran for the exit. This worked well enough, and I completed the level. When you fight the group, take out the fetch as soon as possible. He is the biggest threat to your army. Don't let the myrimidons get to your other units, but be sure that if the fetch is alive there are enemy soldiers between you and him (he'll still shoot, but hopefully he'll hurt them instead of your guys).
|
|
|
|