Films for this walkthrough are available at the bottom of this page.
Films for this walkthrough are available at the bottom of this page.

|
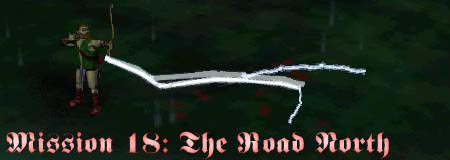
This is the 18th mission of Myth: The Fallen Lords. After the disaster at Forest Heart, Alric convinces the officers of the Legion to press northwards, to Balor's fortress. But it won't be easy. More than five hundred miles of swamp and desolation lie between you and Rhi'anon, and the armies of the Fallen are massing in every direction. But none of this is your concern now. A patrol led by gr'Uman, Lietenant of Archers, has disappeared in the swamp... along with the powerful artifact gr'Uman was wielding. Your job in this level is to retrieve his weapon and get out alive before it falls into the hands of the enemy. |
|
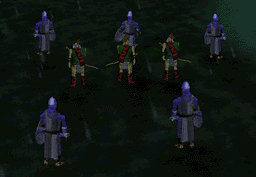
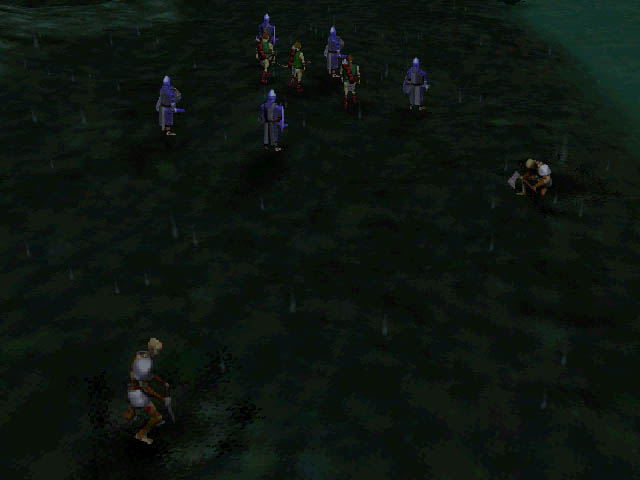
Unlike the previous levels, you command only a tiny patrol of 5 warriors and 3 archers here. This means you can't afford to lose men lightly, so be very defensive. The archers, especially, are your precious cargo... if they all die, you've failed. To protect them against the constant ambushes, try a troop arrangement like the one pictured here, with loosely spaced warriors in front and behind to guard against thrall attacks. |

|
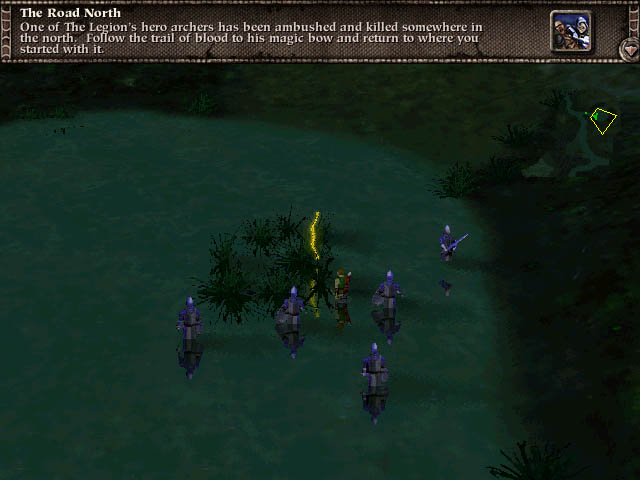
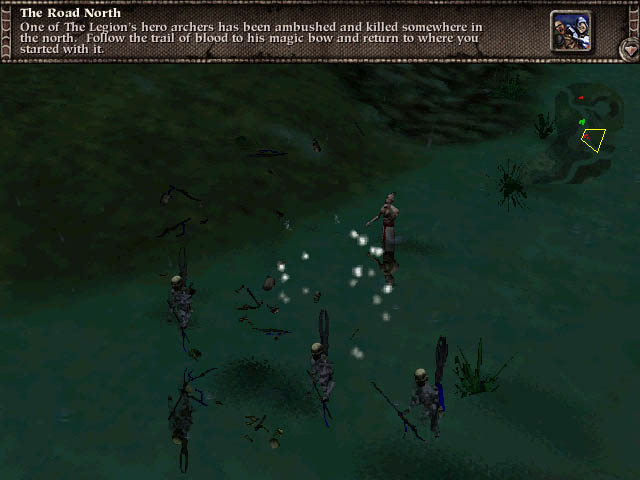
OK, now you're ready to get moving. Follow the trail of blood left by the wounded gr'Uman as he fled from his foes. Note that this level, unlike all the other levels in Myth, will start the bow in one of several different spots, so you rarely play the same level twice. It's nothing to worry about, though... just follow the trail every time. Move slowly, in formation, and watch for... |
|
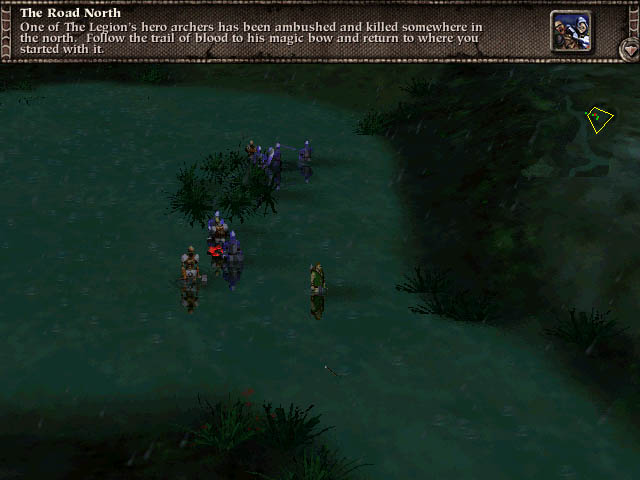
...ambushes! Along your path, thrall will unexpectedly spring from the ground and hack at your men, often from the rear (hence the two warriors in back of the formation). When this happens, micromanage your warriors so there's at least 2 attacking each thrall, then move your archers far away. You can't afford to let them be wounded before you reach the bow. The occasional soulless will drift down from a hillside every once in a while to snipe at your troops, but they don't pose much of a threat. Move your warriors out of range and shred them with your archers. |
|
|
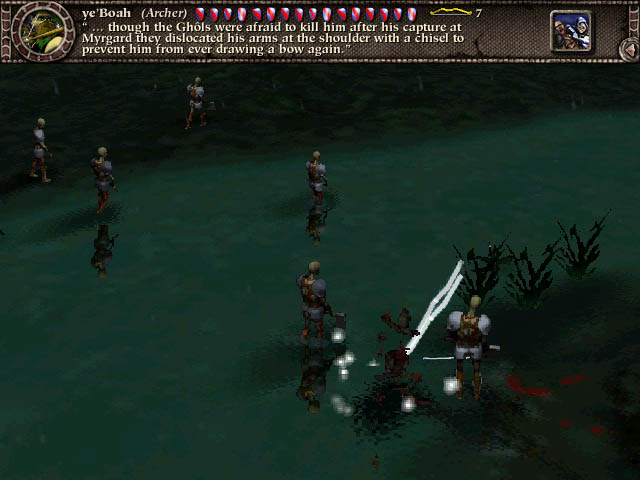
Once the bow is in sight, you have to move much more carefully. Put all 5 warriors close to it (but not too close) and send your healthiest archer forward to grab it. The second he picks it up, thrall will spring from the ground around you, so your warriors have to move fast to protect him. Kill any thrall in his way, then run away as fast as you can... you need distance between you and the oncoming thrall. The weapon your archer just grabbed is called the Bow of Furious Incandescence, for reasons which will be obvious as soon as you it. It's your ticket out of this level, so use it well -- with it, your archer can now fire potent bolts of lightning that char anything in their path. Fifteen magical arrows remain in the bow's quiver; if used properly, that should easily see you to the end of the level. When using the bow, be careful. Electricity doesn't discriminate between friend and foe, so it's easy to fry your own men with a single errant blast. For best results, get as much distance as possible between you and your target... the lightning has tremendous range, but it won't do you any good if a thrall is a couple yards away from your archer. (To use it, press "T" and click on your foe.) |
|
Once you have the bow, patrols of fetch and soulless will start searching the marsh for you. Big deal! With the Bow of Almighty Whoop-Ass, you can take out an entire patrol in 2 shots before they're even close enough to shoot back. Head back the way you came, blasting anything unfortunate enough to get in your way. |
|
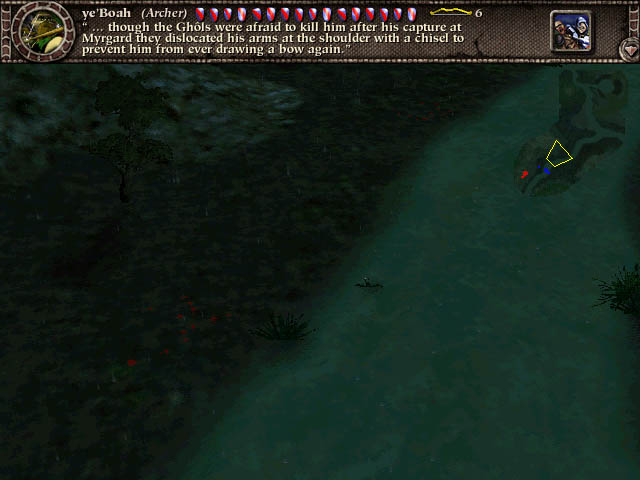
As you return to the beginning of the level, you'll encounter at least one large group of thrall. To make sure you're not taken unawares, keep one warrior ahead of the rest of your group at all times... as soon as he notices enemies, have him retreat and let the archers work them over. Two or three well-placed bolts can vaporize an entire column of thrall, but be careful not to catch your warrior scout in the crossfire. |
|
In short, if you're cautious and alert, there isn't anything on this level that can block your escape. Move slowly, scout well, and you'll be back at the beginning in no time. Once there, your units will turn blue on the overhead map as the computer marches them to safety. Believe me, you'll be thankful for these veterans when you tackle the next level... |