The film for this walkthrough is available at the bottom of this page.
by David Shaw - Roland of Gilead on bungie.net
|
This is the fourteenth mission of Myth: The Fallen Lords. The story moves onward, and we learn that two of the Nine come to Forest Heart to face Soulblighter and try to gain the help of the forest giants. The giants sided with the Light at some point in the past, and their strength and number is again needed to fight the forces of the Fallen. These powerful creatures are the only way the light can combat the trow successfully.
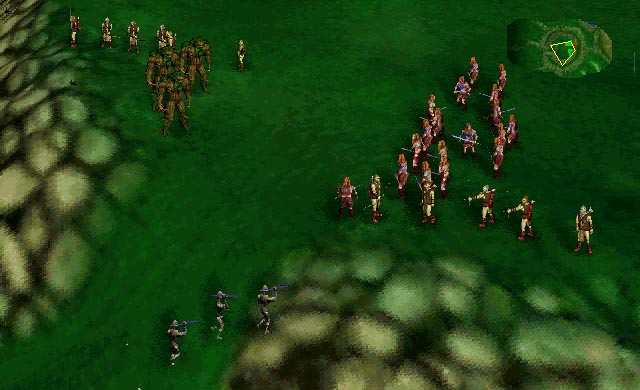
The goal of this mission is to take your sizeable force (shown to the left fighting the first wave of attackers) and kill Soulblighter's four Trow generals, driving his forces from Forest Heart. To do this, you are give three Forest Giants. These walking trees are as powerful as trow, but they fight for the light. When you start, you will see several berzerks and archers fighting a trow and some myrims. They will probably all be killed before you can do much to save them. If you can take a berzerk and run him toward your main forces. You'll hopefully buy some time to set up your forces for the first wave of attacker. Once the last berzerk is dead, the view will jump to your main forces. A small group of myrimidons will be charging. Let the archers weaken them as much as possible. Then use the berzerks and forest giants to kill the myrims once they get close enough. |
|
|
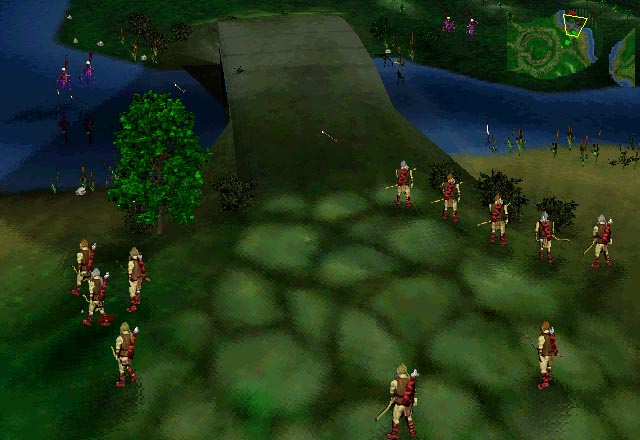
After wave 1 is take care of, move the troops down the hill and to the northeast. You'll see soulless flanking a bridge. Move your archers to either side of the bridge to take them down. You can see this (and not the location on the inset map) in the picture to the left.
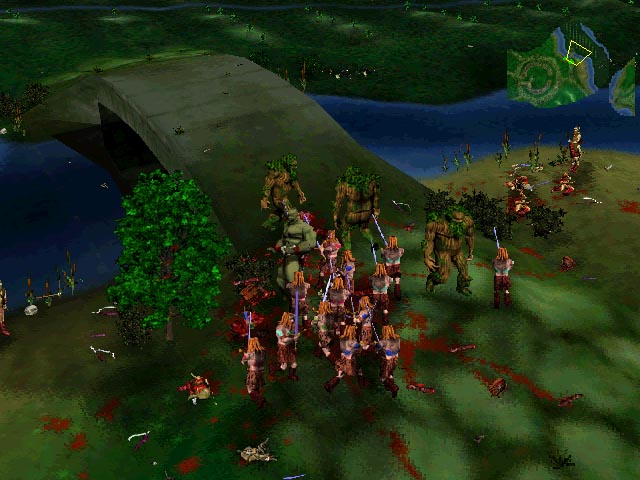
As you fight the soulless, move your berzerks and giants to the right of the archers. A trow giant will cross the river and try to kill your archers if you are not there to intercept him. If you hit him with three giants he will fall easily. This is the only way to fight the trow successfully on this level. If you don't use multiple giants you'll lose units. You can see the trow about to die in the picture to the left. After the first trow dies, send a berzerk over the bridge to lure over them myrimidon. Kill them. Soon after they die, a second trow will come across the bridge. Be ready for him and kill him. Use the same tactics as with the first trow, and keep your archers clear to protect them. A trow can kill 10 archers before berzerks can bring it down. Don't let this happen to you. The second trow is shown being taken down by the berzerks in the picture to the left. Once the second trow is dead, move back towards the hill where you started. There is another bridge due east of the hill, and the other two trow are over there. |
|
|
The next attack will come when your units approach the second bridge. This location is shown in the map to the left. I set up my archers and giants to the left if the bridge (at a distance away) and the berzerks to the right. I used a berzerk to run along the bank of the water, enticing the thrall that were hiding in it to come out. When they come out, soften them with archers and finishe them off with your berzerks and giants.
After the thrall are dead, move the archers to the bank on the right side of the bridge. You'll see a patrol of myrimidon running back and forth. Set the archers in a line, and let them kill the myrims. It may take a while, but be patient (also use the F2 and F1 keys to speed time up and slow it down). At some point, more soulless may come across the left bank. Use your giants to take them out (see picture, left). Once the myrims and soulless are dead, move the archers up onto the bridge. Use them to take out the soulless on the other side. Once this is done, move the rest of your forces across the bridge as well. Move along, following the road until you see another wave of attackers on your map. You'll be attacked by myrims from ahead and a group of thrall and soulless from yor right flank. I killed the myrims first and then sent the berzerks to dispatch the soulless and thrall (see picture, left). |
|
|
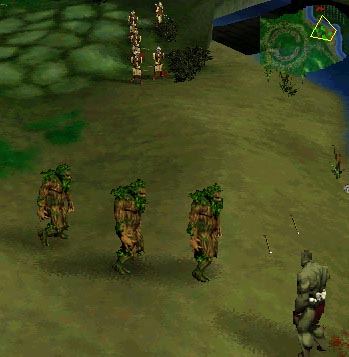
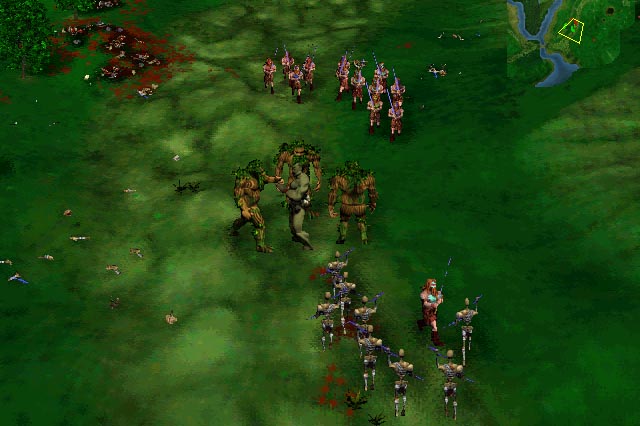
As soon as you kill wave 4, move the archers up onto the hill for a height advantage. Set up your berzerks and giants as an ambush. Use a lone berzerk to lure in enemy forces, and then dispatch them. I fought a group of myrims and a trow as my first ambushed enemy force. They can be seen to the left. I sent the berzerks after the myrims while the giants handled the trow.
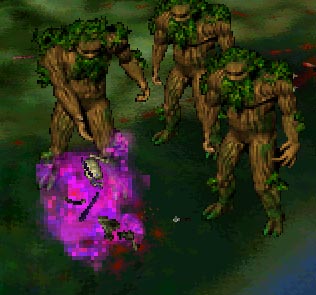
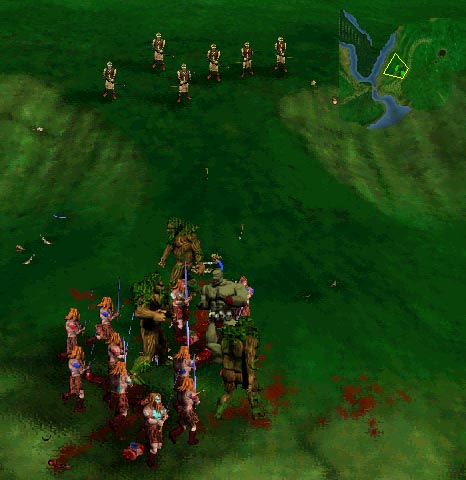
Immediately I was faced with a final trow. If you are not, send out the berzerk again to get him to come fight on your terms. He is shown in the second picture to the left being devoured by my forces. Once the final trow is dead, Soulblighter comes to show off a little magic and make your soldiers' lives more difficult. This can be seen in the banner at the top. You'll like the cool effect as Soulblighter shows up, but I'll leave that for you to see in person. I lost several berzerks and a couple of archers, but that was all. I kept all my giants, and most of my other forces. This level is not difficult if you face each trow with multiple giants and keep the myrims away from your archers.
|
|
|