The film for this walkthrough is available at the bottom of this page.
by David Shaw - Roland of Gilead on bungie.net
|
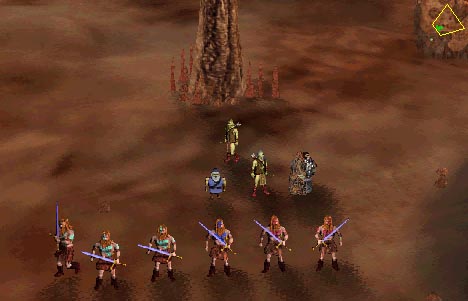
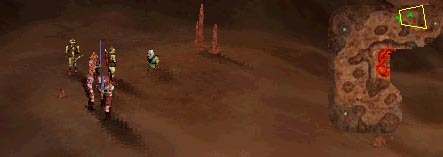
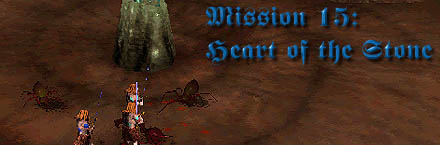
This is the fifteenth mission of Myth: The Fallen Lords. When the final trow general fell at Forest Heart, Soulblighter arrived with an ancient artifact called the Tain (shown to the left). He imprisioned a thousand soldiers of the Light army in it, and your group was among them. The Tain is a baseball-sized artifact from the created by the Smiths of Muirthemne during the Empire of Cath'Bruig, and used by Connacht to imprision the evil Myrkridia during the Wind Age.
The Smiths who built the Tain supposedly made it possible for them to escape if they themselves were ever trapped in the Tain, but this escape route was booby-trapped to prevent others from getting out alive. The goal of this mission is to overcome one of these puzzles and move towards the way out. This is not a difficult level at all once you figure out the trick to it. The units that you start with on this level are shown to the left. You are given plenty of units to escape this level with minimal casualties. |
|
|
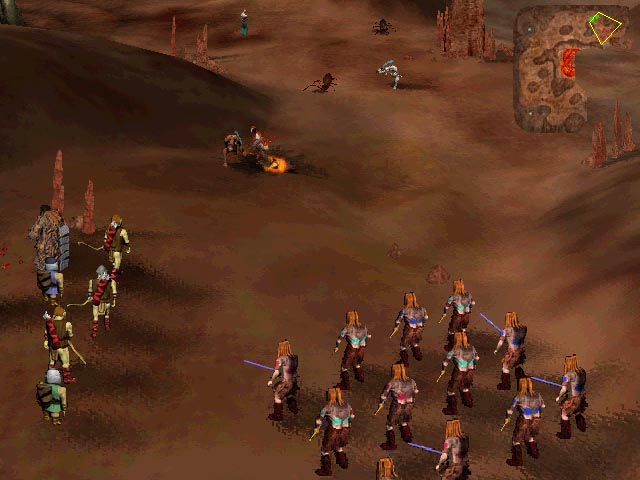
This level introduces you to yet another new unit. You get the distinct pleasure of meeting and killing the Cave Spider. Cave spiders are very quick and do a fair amount of damage in groups, but they are very weak. The key to fighting them successfully is to attack them with large groups of berzerks, while the archers pick off the stragglers from afar. The dwarves are largely useless on this level other than for killing the occasional ghol.
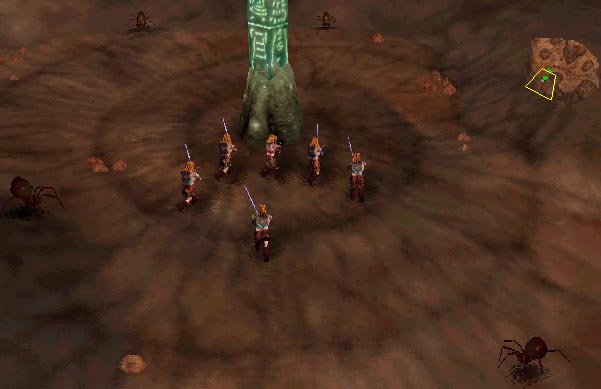
The first wave of spiders is shown to the left. Once you get good at fighting them with a group of guys, they are a joke to kill with little damage to your units. Rememeber to use the Journeyman to heal any berzerks whose health gets low. Also notice the pillar glowing. This pillar and others like it are the key to escaping this level. My general strategy for this level was to move around the perimeter of the level killing everythign I encountered. This is made easier by the fact that spiders are not the only creatures living in the Tain. Apparently Soulblighter has imprisioned several groups of ghols and fetches as well. These groups will occasionally fight with spiders before you face them, leaving the surviving group weakened and easier to kill (much like on Mission 13: Seven Gates). Other times you will face the group of ghols or spiders alone, and must kill them. Wave 2 is shown to the left. It consisted of a few ghols. While I was fighting them, more troops are teleported into the Tain where the fight was going on. If you do not end up meeting the ghols in the depression shown, move your berzerks over to it until the other units appear. Kill the ghols with berzerks before they can do any damage. |
|
|
The map showing wave 3 is shown to the left. Notice the two groups. They are spiders and fetch/ghols. Let the groups fight, and clean up whatever attacks you when it's over. In my case, the sole remaining enemy was a fetch. I used a berzerk to distract him while my archers killed him. I then healed the berzerk with the journeyman and lost no units in the exchange.
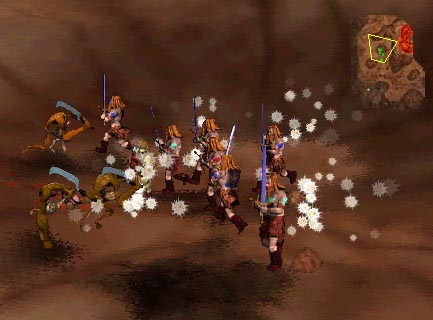
After you kill the fetch, continue moving clockwise around the level. As you come up near the third (top-right) pillar, you will receive some new units (shown to the left). Absorb them into your group and prepare for an attack. As soon as you move your forces up onto the hill where the new units appeared, groups of fetch/ghols and spiders will appear. Some will fight one another, while others will come after you. You can see my troops facing them in the picture to the left. My dwarf killed the advancing ghols, and then the archers moved into position. After the fetch/spider battle, the fetch advanced. It was quickly killed by the archers with their superior height advantage. Several spiders attacked as well, but the archers and berzerks took them out as needed. |
|
|
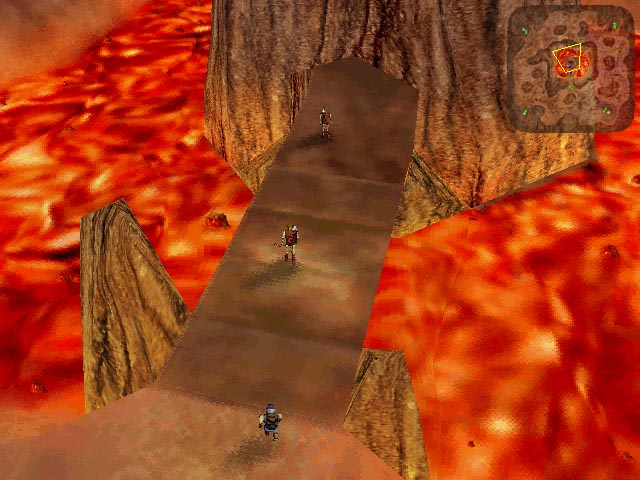
From here on out the level is simple if you are careful. The rest of the enemies are all spiders and ghols. The maps to the left show the enemies I encountered as I completed the level. I moved down the right side of the map to the final pylon, killing the enemies as I encountered them. At the pylon I met the 6th wave and killed them as well (a group of ghols).
I then left a berzerk and my dwarves, archers, and journeyman at the fourth pylon. The berzerks then moved up towards the exit (in the center of the map). This can be seen in the third map to the left. Spiders again attacked, but the superior force of berzerks killed them all easily. After killing the spiders, I split my berzerks into two groups. One group headed for the northeast pylon, while the other went to the southwest. This can be seen on the fourth map to the left. The southwst group encountered and killed a few more spiders. as shown. When the northeast group arrived, they too had to fight some spiders. As mentioned before, spiders are very weak against groups of berzerks, so keep your berzerks in groups and you'll be fine. I then broke off a few of the larger northeast group and moved them to the northwest pylon. They encountered and killed some spiders as well. At some time, EVERY pylon will be attacked by spiders during the activation of the puzzle, so watch the map and be prepared.
|
|
|
Once you have units at every pylon, move a few berzerks (leaving no berzerk by himself) to the exit. They will be attacked my even more spiders as shown on the map at the left. The berzerks should kill them all easily. Once these spiders are dead, move your archers, dwarves, and journeman up tot he bridge. Leave the berzerk that was with them to guard that pylon. The secret to the puzzle is this: You have to have a person standing at every pylon (lighting it up) in order for the bridge in the middle to be passable. Then send one unit at a time across the bridge as shown in the picture to the left. When all the non-berzerk units are safe, start sending the berzerks across, keeping one at each pole. When the four berzerks are the only ones that have not escaped, the level will end.
I lost a couple of berzerks to spiders, but this level can be completed with no casualties if you heal judiciously with the journeyman. This level was more of a primer for the next level (and puzzle) than anything else.
|