The film for this walkthrough is available at the bottom of this page.
by David Shaw - SatanTM on bungie.net
|
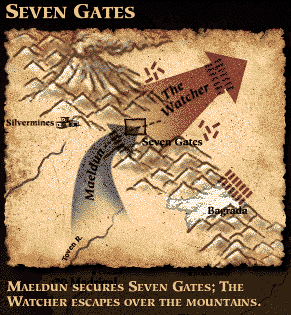
This is the thirteenth mission of Myth: The Fallen Lords. The story goes that you are heading into Seven Gates, one of the three passes into the Cloudspine mountains (the other two passes are Bagrada and The Stair of Grief). Your group arrives following the army of the Watcher. The Watcher is at war with another of the Fallen lords, the Deceiver. Apparently he's angry that the Deceiver let the Light get away with the arm at Silvermines, so they are having it out. This is a good thing for you, because it means that they will do most of the fighting, and all you must do is go in and clean up the leftovers.
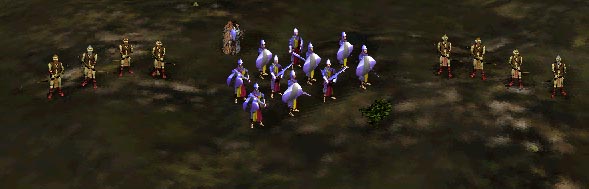
Your goal for this mission is to find and kill Scaripant, a Shade (shades are reanimated corpses of long-dead sorcerers). This level is very simple, as long as you do not try to fight the enemy yourself. Follow the instructions detailed below, and you should finish with very few casualties and a nice group of veteran hero archers for the next level. Your army is shown yo the left. You have a strong contingent of archers and warriors, plus a journeyman to heal injured units as needed. |
|
|
The first map to the left is wave 1. It consists of soulless and thrall from both the Watcher and the Deceiver. Just stand back and let them fight it out. When it's all said and done, the remenants (usually just a few soulless) will come to fight you. You should be able to kill them easily.
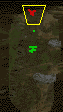
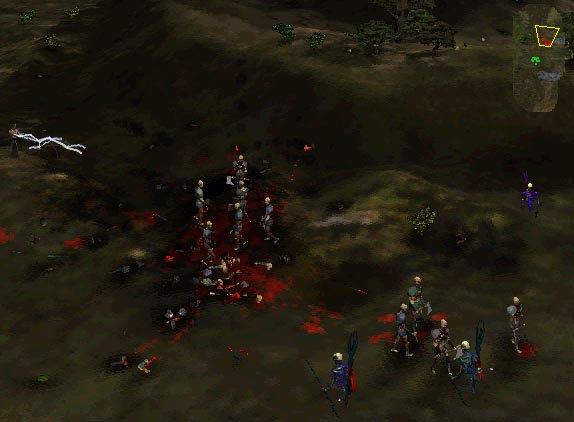
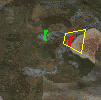
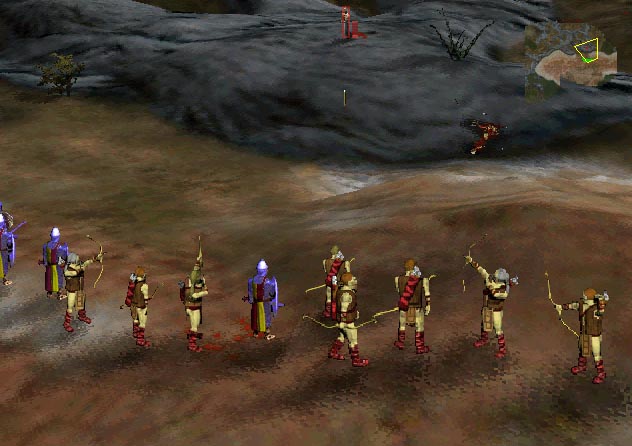
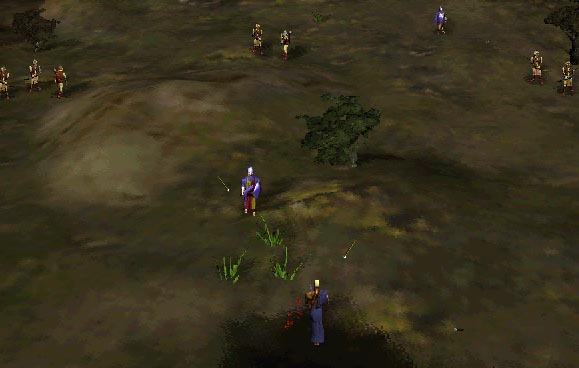
After finishing off wave 1, send a unit to scout ahead until you encounter wave 2 (see map to the left). Move back, and you'll see another group to your right. Retreat, and the two groups will fight. This battle can bee seen in the picture to the left. Notice the light and dark units. These represent the units of the two Dark armies. You can gauge when they will attack you by how many heterogenious units are left. The most dangerous units on this level (other than Scaripant) are the fetch. Luckily for you, most of the fetch will die before you have to face them. When the battle is over, bring in your archers to clean up the remaining soulless and thrall. |
|
|
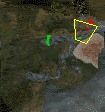
Wave three is more of the same. Send a unit around the hill to the left, drawing out the forces of one army (see map to the left). As he retreats, the second army will come around the hill from the right. They will meet in the middle and fight it out.
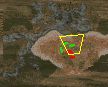
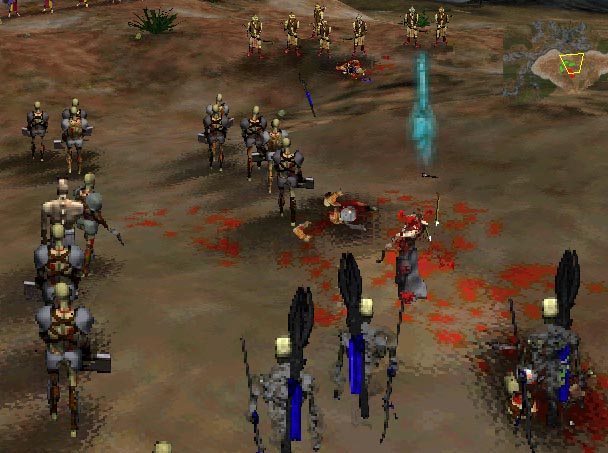
Keep your units away from the battle, as shown in the second map to the left. You will do well to avoid this wave as much as possible, because there are at least three fetch in one of the armies (the other is too far away in the film to see completely). Luckily, the fetch were all killed by soulless, leaving the work of your forces to simply killing a few survivors. After finishing off the next wave, move around the hill to the left. There si yet another battle raging here (see map to the left). Move your archers up to higher ground to fight off the remaining units. In my case, there was one lone fetch surviving, but my archers finished him off without a problem (see picture to the left). |
|
|
The next wave is different from the others in that there is no enemy army to reduce the oncoming force. You must fight them all. The location of wave 5 is shown in the map to the left. This wave consists of two fetch plus some soulless and thrall.
The picture to the left conveys my strategy against this wave. Flank the hill with archers, killing the fetch first, before they can do any damage your warriors. When the fetch are both dead, move the warriors in to kill the thrall, while the archers work on the soulless. I lost two warriors in this battle. One of them was due to friendly fire, while the other was to thrall during the battle. I considered these losses acceptable. When the wave is over, use the journeyman to heal any units that need it, and then move on.
|
|
|
Wave 6 is more of the same as before. You can see their location in the map to the left. Let the two armies fight it out as you have before, then got in with archers and clean up the stragglers.
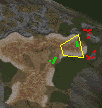
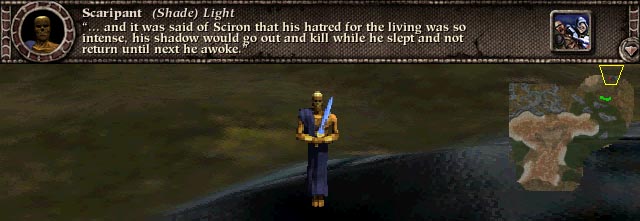
Once wave 6 is dead, move across the water to the place where Scaripant is waiting. He is shown to the left. He has apparently been severely wounded already (a good thing), so you should be able to kill him without too many losses. The thing to remember about Shades is that they will save their powerful magic for groups of units, so don't lat any large groups get in his range. He will choose to fight individuals in hand-to-hand combat.
|