The film for this walkthrough is available at the bottom of this page.
by David Shaw - SatanTM on bungie.net
|
This is the tenth mission of Myth: The Fallen Lords. This mission chronologically follows the previous mission, The Five Champions, directly. You get to use the same five guys, plus Alric, who you rescued. Because you do get to use the same guys, it's important that you start this level from a saved game continuation of the previous level rather than a New Game. If you do this, your heros will also be veteran units, and will be more efficient soldiers (which makes your job easier).
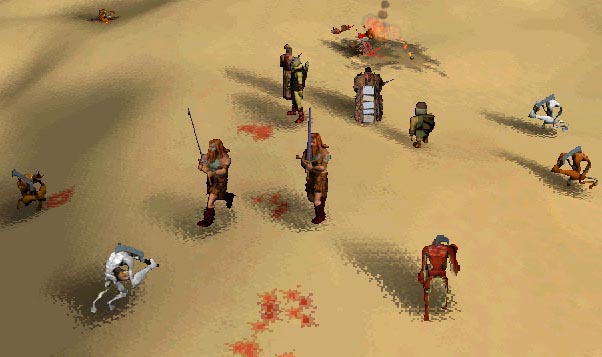
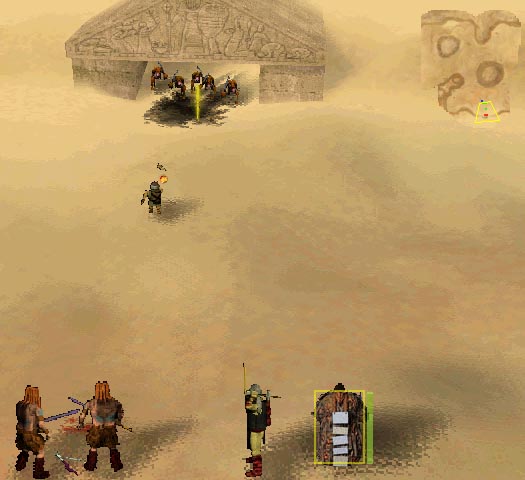
When you start this level, you'll see a group of ghols ahead of you. Let your guys take their position on the dune. You'll notice that the ghols will fan out to encircly your group (see the map to the left). Do the same, forming a smaller circle with your units (you don't get to control Alric, so don't worry about him -- he'll tag along wherever you go). The ghols will attack. Let your archer and dwarf do their thing, and you will kill one or two ghols. The rest are for the berzerkers to kill. Make SURE you don't lose any units. Unlike the previous level, you can lose units and continue, but it will be a lot more difficult. You can see the ghols being killed in the picture to the left. |
|
|
One ghol will probably not attack (a white one). Send the berzerkers to chase him down and kill him. When this is done, regroup and move on towards wave 2 (see the first map to the left). This wave will be more ghols. Kill them as you did the first wave.
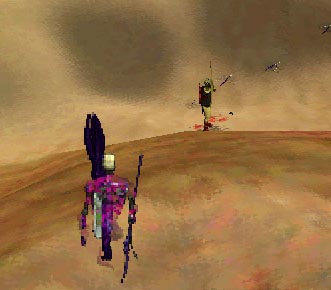
After the ghols are dead, move on towards wave 3. (see the second map to the left). This wave consists of flanking soulless on the hillocks with soulless and myrimidon in the middle. As you advance, the middle group will retreat, playing cat and mouse. Move up in between the hills. Attack the soulless on the sides with the archer hero as shown in the picture to the left. The archer is both a hero and a veteran, so he'll win easily despite the height disadvantage. At some point soon afterward, your advances will prompt an attack from the frontal force. Use your dwarf and archer to soften up the onslaught while the berzerks protect and kill as needed. |
|
|
After wave 3 is dead, move south towards the temple there. On the way, you'll meet another wave of myrims and soulless. Kill them with the dwarf and berzerkers, with the archer doing what he can to help (see picture). You can heal your units as needed using the roots carried by the journeyman. Make sure no one is "in the red" after this battle, because your most fierce encounter is coming soon.
If you look to the south, you'll see a temple. Don't get too close, because there's an ambush waiting inside. If you know this, then killing the ghols will be easy. When this is done, send the archer over there. The golden bow there can only be carried by the archer. It is an ancient artifact that is not necessary to complete your quest, but is pretty neat all the same. When you shoot someone with it, they turn to stone. Not very effective against a horde of oncoming enemies, but worth getting all the same. You can use the bow by selecting the archer who holds it, hit the "T" key, and click on your foe. The next stage is important. If you move as I did, you will only face one force of the two that await you (facing both at the same time is a pain to say the least). |
|
|
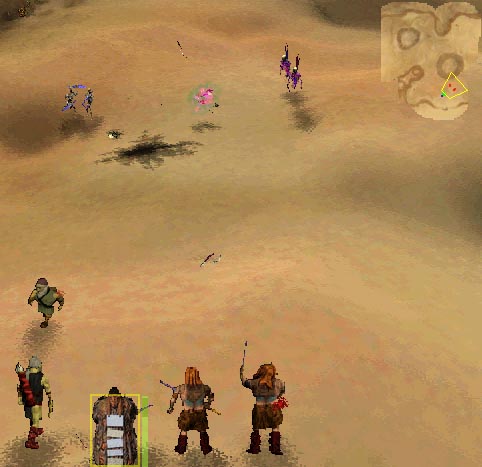
As you can see on the map to the left (I have included as much map as possible to give you an idea of where we are ans where we have already traveled), there are two large forces to contend with here. We are only going to face the topmost one, because if we stay away from the other one they will not attack (hey, we're playing to win here). The topmost wave we will fight has soulless, ghols, and myrimidons (a nasty combination). The key to not facing the other group is to stay as far north and west as possible while advancing on the other group (more cat and mouse must be played before they will engage you).
The picture to the left illustrates my fighting this wave. Notice in the inset map that the group to the southeast is not attacking. Since I am not going that direction I have no interest in killing them. This wave was defeated using the same basic idea that has been going on throughout this level. Soften up with the archer/dwarf attacks, and finish off with the berzerks.
|
|
|
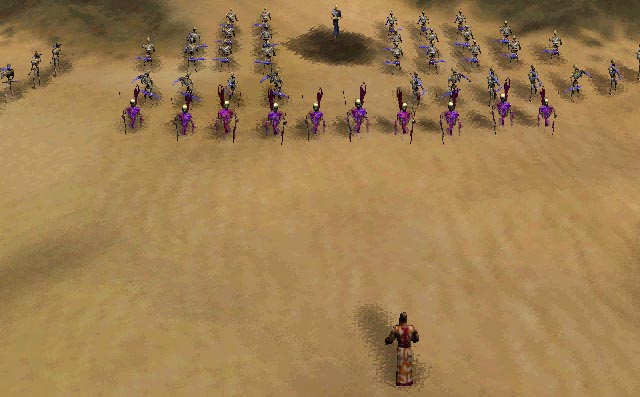
After this wave, move up towards Sinis' army (shown on the map to the left). This is a large, nasty army that you couldn't kill if your life depended on it (they are shown to the left below the map). Luckily, Alric decides to go face them himself with a calsual "I'll handle this...". Alric then proceeds to blast them all to kingdom come and goes over to duke it out with Sinis (a shade, and apparently an old enemy).
While they are fighting, move your guys up the ramp behind them. As Alric finishes off Sinis, he'll follow. When you get to the top, he'll teleport you all ot safety, moments before another large force arrives (see map, left). As you can see, I did not lose any units. If you are careful, you will not either. Having veteran heros may prove useful in a later level. In any case, this level was more challenging that its predecessor, and you got to see the power of a magician like Alric. If you behave yourself, maybe you'll get to BE Alric in a later level (hint, hint).
Download the Film
|