The film for this walkthrough is available at the bottom of this page.
by David Shaw - SatanTM on bungie.net
|
This is the ninth mission of Myth: The Fallen Lords. This is one of my absolute favorite levels. You get five units, and none can be allowed to die during the level (or you fail). These five champions must battle their way to Alric and free him. Sound difficult? Well, it's not so bad when you realize that the five are: an Archer Hero, two Berzerker Heros, a Dwarven Hero, and a Journeyman. If you haven't used heros before (they have not been in any previous solo levels, though they do appear in a few multiplayer levels), you are in for a treat. They are stronger, faster, and more accurate than their non-hero counterparts. The journeyman is just along to heal everyone else up as they progress through the level.
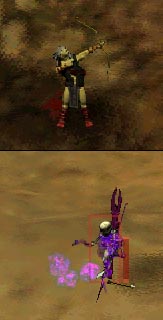
When you start the level, your first encounters will be with three soulless. Kill the first with your archer hero (see pictures). The other two will in the mean time come down the hill in front of you. When they get down, send the berzerkers after them. Once you have killed the soulless, follow the valley until you see some ghols and soulless. Use your dwarven hero to soften them up as needed, and finish them off with the berzerkers. Most of the kills in this game are given to the dwarf because of his immense killing power and great accuracy, so make sure that your archer and your berzerks all get at least 5 kills each so they can have veteran status for the next level, Out of Barrier (you use the same five guys in that level as well, so having vets is important). |
|
|
Soon after the first wave a second wave consisting of a large group of thrall will come down the slope to your right. Normally this many thrall might pose a problem for such a small force, but in this case it's just more cannon fodder for the dwarven hero. He should make short work of them and rack up some easy kills.
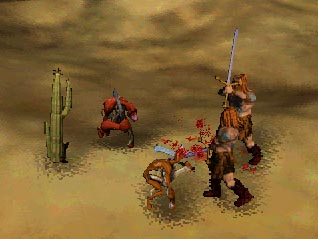
After you kill the thrall, move up to the top of the slope and head east. The map at th left shows the units along the path toward Alric. As you move along, you will probably encounter some ghols. Use the berzerks to take them out before they get near your weaker, slower units (see picture, left, of the berzerkers tearing the hapless ghols limb from limb). This level is fun, but it's not too challenging for this reason; your units are far superior to anything you might face, so it's good practice. Besides, you need to get used to using these units effectively, because the next level, Out of Barrier, is not as easy as this one (but you can complete it without casualties too if you practice now). |
|
|
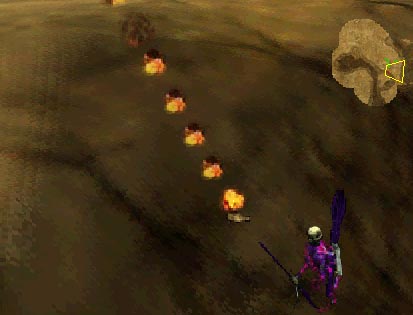
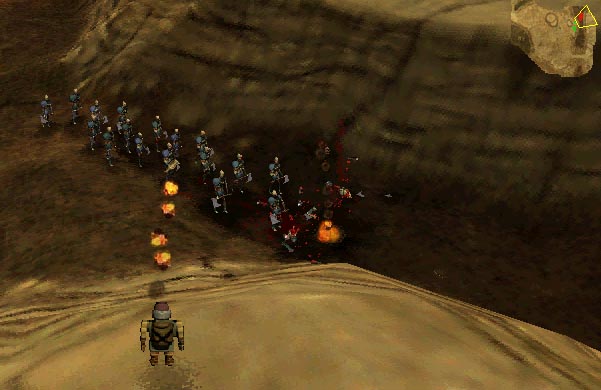
The next group you will encounter will be two factions of soulless. Use your berzerkers to kill the ones that you can reach. Let the dwarf get the ones hiding on the slopes of the hills beyond the berzerks' reach. They don't last long when hit with flaming cocktails like the unlucky soulless in the picture to the left.
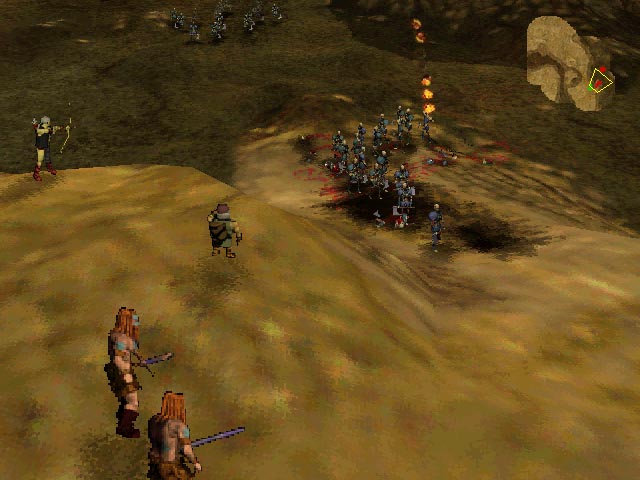
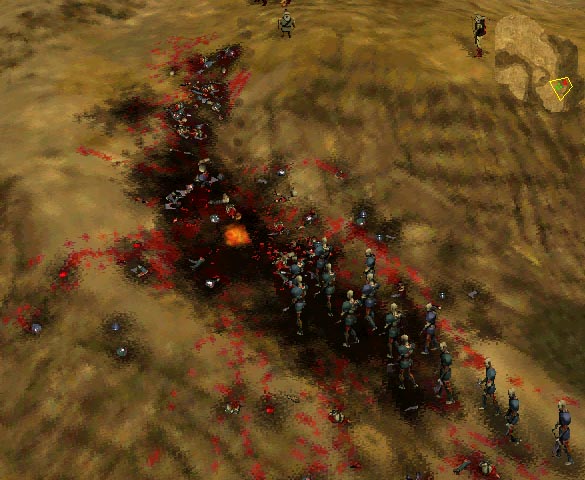
The next encounter is the most fun. You have a great terrain advantage, and your opponents are slow and stupid. This battle consists of two waves of about 25 thrall each. As you can see in the picture to the left (click for a larger view), the dwarf has a lot of fun here. You can use some satchel charges if you want, but it's not strictly necessary. Make sure your archer is in a place to get some kills as well. Set the berzerkers to Guard so that they don't jump into the frey. Leave them until the last few remaining thrall (if any) make it to the top of the hill, and use them to finish off the survivors. As soon as the first wave is dead, a second one follows (see second picture to the left). Notice in this picture that the archer is safe from approaching thrall, and yet can make lots of kills on the exposed flank of the thrall. Do the same thing as you did before, and you'll destroy them without a struggle. The gore on the battlefield afterwards is most satisfying. |
|
|
After all the thrall are dead, walk your heros through the valley. You'll see a "ramp" going up to a ledge (look at the map in the picture to the left for perspective). On the ledge there wil be some soulless (see picture). Use your archer and berzerker to kill them. When they are dead, send the journeyman around behind the ledge, and you'll see some healing roots amongst a few tumbleweeds. Get them and use them to heal you guys throughout the level as needed.
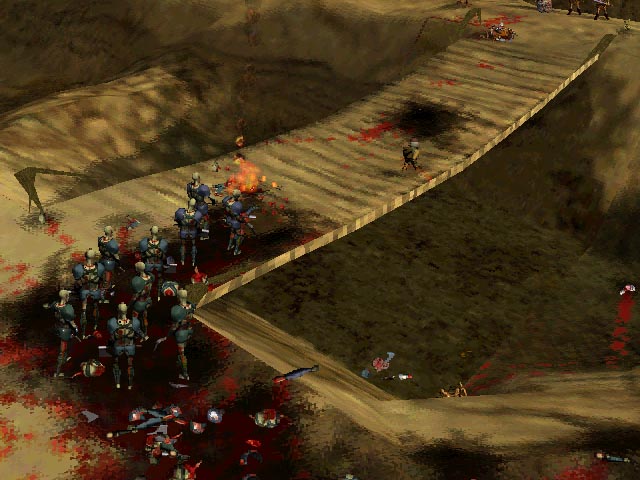
After you kill the soulless and get the roots, move up the ramp to the bridge. Your dwarf should again do most of the work here. Move him up onto the bridge. The first groups will be ghols. The dwarf will probably kill them, but if not then let the berzerks do it. Then move the berzerks back and set them in guard mode. The next wave will be thrall. Let the dwarf kill them all. No problem (see picture to the left). The dwarf is really racking up the kills. As long as everyone else (except maybe the journeyman) racks up at least 5 kills each, it's fine. But you'll need your vets on the next level, Out of Barrier.
|
|
|
After killing all the cannon fodder on the bridge, move southeast towards Alric. In one of the chasms below you'll see some thrall (see picture). Kill them with the dwarf and archer (this is a good place to make sure your archer gets more kills if they are needed for vet status). I don't know what their purpose it, but they are completely helpless down in that canyon. Kill them and move down to the walkway you can see in the picture.
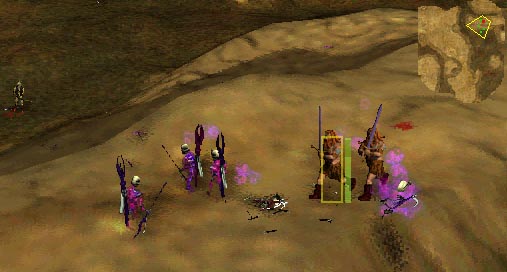
The final wave is across the bridge. It's just a few soulless. Use everyone to kill them. The dwarf can take out several if he's healthy, the archer will take out one, and the berzerkers will cut down the rest. When you finish, go to the trap that ensnares Alric. There is a ring of pylons. When you blow them up, Alric will be free (he is shown to the left). Alric is one of the wizards fighting for the light, You'll get a hint of his power in the next level, Out of Barrier. My score is shown to the left. As you can see, the dwarf did most of the damage, but the others had their share as well. This was not a difficult level, but it was one of the most fun so far. |