The film for this walkthrough is available at the bottom of this page.
by David Shaw - SatanTM on bungie.net
|
This is the seventh mission of Myth: The Fallen Lords. This level marks a slight change in the work behind the scenes. While I have completed this level several times, with the beta, with the demo, and with the release, none of my victories were as inventive as this one. I requested saved films for upcoming levels, and was sent this film from Sunfire and Kahless. They completed this level on the Legendary difficulty level and only lost three units. I was suitably impressed with the ingenuity of their strategy that I thought I would share it with you.
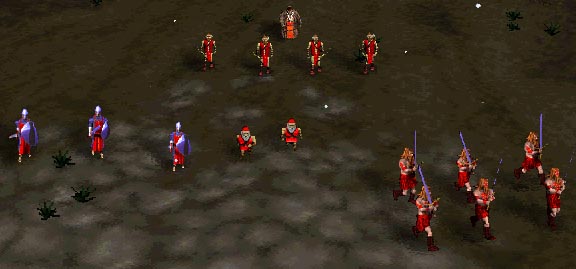
The story goes that your scout party has disappeared and you have to find out what happened to them. In the course of the level, you will meet the most powerful unit in the game, the trow. The trow can be a great asset in anet game, but they are a force to be reconed with when you come up against them. In this level, you start with the units shown to the left. You are given two dwarves, a group of archers, a journeyman, some warriors, and some berzerkers. This force is capable of stopping most anything you encounter. That's a good thing, because on this level you have to fight the first three waves of enemies back-to-back-to-back. These waves consist of thrall and soulless, plus a separate group of myrimidon (and in this level, unlike in Flight From Covenant, you actually have to fight them).
|
|
|
The first wave consists of a small group of myrimidon, followed by a larger wave of soulless and thrall. Use your dwarves to take out the myrimidon, and finish them with berzerkers if needed. The second part of the first wave is shown to the left. Notice how the soulless are being protected by the thrall... the computer is getting smarter. Use your dwarves and archers to soften up the thrall, then send in the berzerkers and warriors to finish them all off.
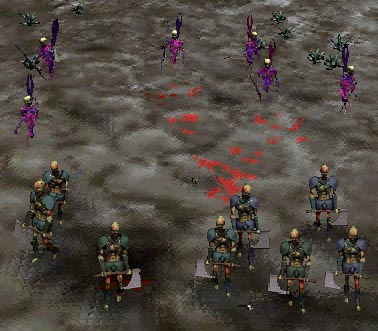
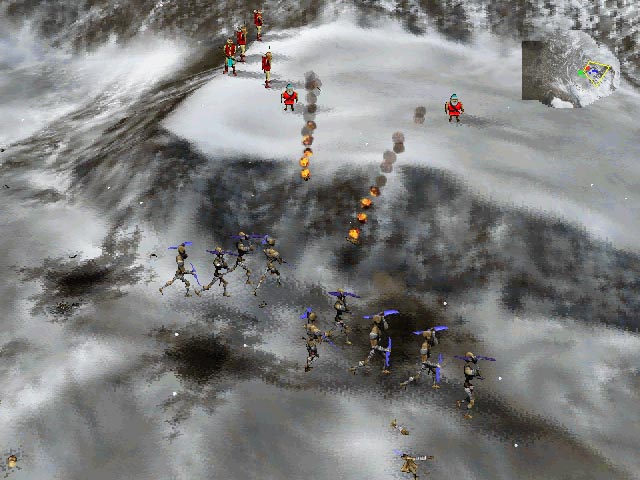
As soon as you finish the first wave, the second wave shows up. The map of wave 2 is shown to the left. Wave two is the same makeup as wave 1. Kill them the same way as you did before, all the while moving towards the northeast. Upon killing wave 2, keep moving your troops to the northeast. There is a hill there that is your ultimate goal. The blue dots on the map to the left are units that have reached the hill you are going after. The red dots are the third wave of enemies, while the green is the group of warriors and berzerkers going to dispatch the second wave. Kill them, then return to the hill where the journeyman can heal your injured units. |
|
|
The picture to the left shows why moving to the hill is a good idea. Wave 4 consists of a fairly large group of myrimidon. Use your height advantage and your dwarf/archer units to kill them off. This is one of those times when the terrain advantages in Myth really begin to show themselves. Let your melee units finish off any enemy troops that remain.
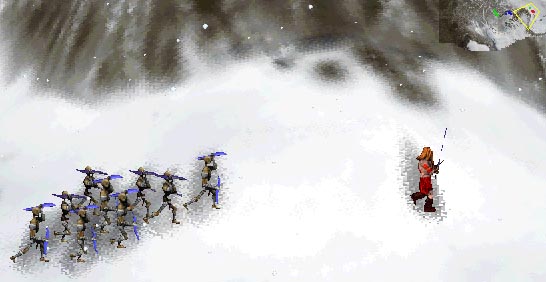
Leave your archers and dwarves on the hill and move your melee units to the base of the hill (the ramp). Send one berzerker forward to find enemy groups and get them to chase him back to the hill to be slaughtered by the dwarves and archers. You can see this in the picture to the left, where the berzerker leads unwary myrimidon to their doom.
To guide your berzerker to his final destination, there are markers along the trail. They look like the large carved stone to the left. Look for them and you will find your goal more easily (it's in the north-east of the map). You will come across the smouldering campfire where your scout group died. Go north by northeast and you will see a larger force including a trow. Run back to the other units and wait. |
|
|
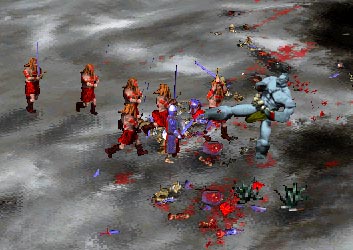
These guys did a great job on this level. Until they met the trow, they had not lost a single unit. It may be difficult to duplicate their performance exactly, since controlling so many units simultaneously is not a simple task, but I was able to use this strategy and win the level with all of my archers and dwarves, and most of my melee units still alive. The picture to the left shows the trow plowing through the melee units as he makes his last-ditch effort to stop this large force. He killed three units before he was turned to stone and destroyed. |
|
|
|
|
|