The film for this walkthrough is available at the bottom of this page.
by David Shaw - SatanTM on bungie.net

|
This is the fifth mission of Myth: The Fallen Lords. This mission is a continuation of Homecoming. You have recovered the Total Codex and are trying to get it back to the Nine so that they may use it to fight the Fallen Lords. You read a little of the book and see that it contains powerful prophesies of the future.
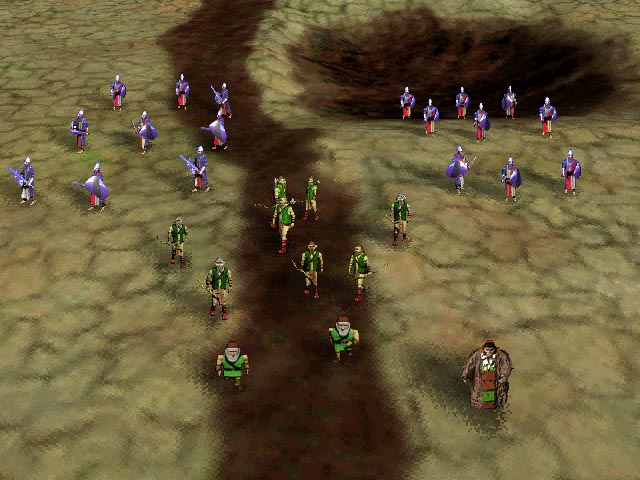
The Watcher is chasing you, trying to take the Codex from you before you can seek safety in the caves under the mountains. To this end, he has sent a large force of undead warriors (consisting of thrall, myrimidons and wights) to kill you and retrieve the book. Myrimidons are a unit you have not seen before, but if you play this level correctly you will never actually fight any of them at Covenant. In this level you start with a large force of warriors, archers, dwarves, and your journeyman, who carries the Codex. If the journeyman dies, you fail your mission, so protect him! Your units are shown in the picture to the left. As you can see, I started with eighteen warriors, eight archers, two dwarves, and one journeyman. This seems like a sizeable force, but by the end of the level my forces were much smaller.
|
||
|
|
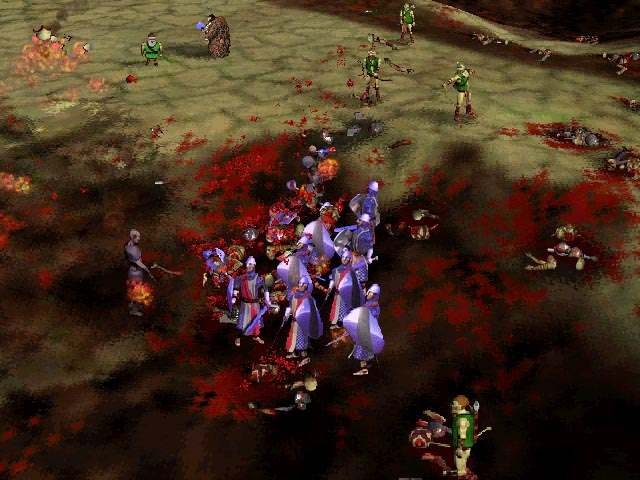
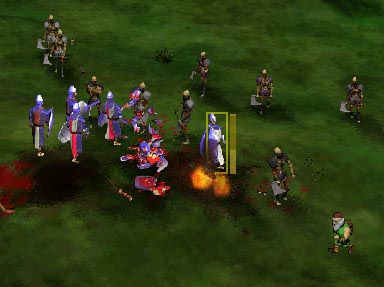
The battle to the left was really interesting. A group of my soldiers was fighting a wall of thrall when a wight came up behind the thrall. I was occupied with another battle front and the wight detonated. The wall of thrall was destroyed, while my warriors were largely unhurt, save the wave of thrall blood and body parts shown washing over them here. The thrall took the brunt of the blast, effectively taking them out of the battle. A little luck never hurt anyone... After killing off all of the first wave, I had sustained heavy casualties. I lost two archers, eleven warriors, and a dwarf. Not great, but I was left with six archers, one dwarf, seven warriors, and my journeyman. The journeyman healed all my injured units and we moved into position to escape.
|
||
|
|
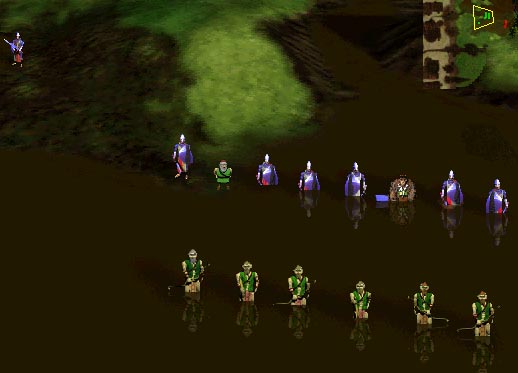
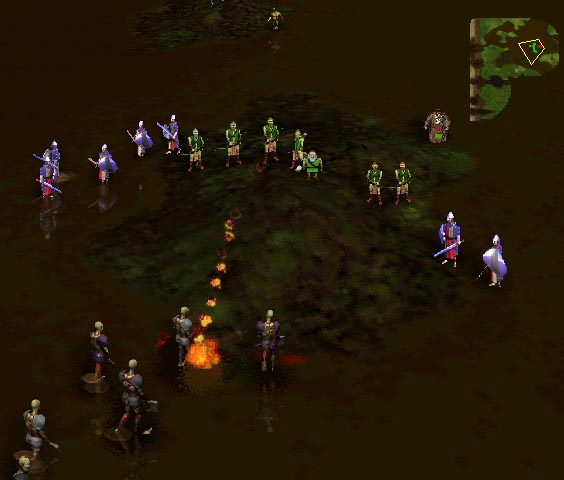
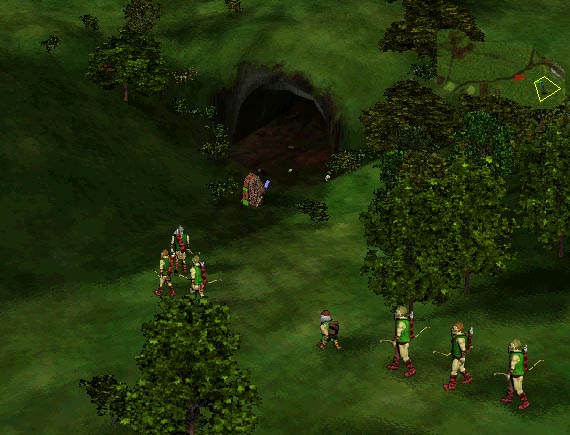
When you get to the position shown, you will probably see some wights. Send out the archers and kill off all the wights that you see. They will be nothing but trouble otherwise. When this is done move your forces towards the wall of thrall in the water. While you engage and kill the thrall, keep an eye out for more wights. There are over a dozen in hiding waiting to sneak up on you and kill you while you are preoccupied. You can see a wight sneaking up on my units while they fought the thrall in the picture to the left. After you eliminate the thrall and the immediate wights, more wights will appear. Use your archers to defeat them all. You should not lose any units in the swamp if you are careful and use your archers effectively. The map to the left shows the locations of more wights coming after my troops as they move out of the swamp. The large red force to the south is the northern end of the large myrimidon force guarding the road. Don't get too close to them, or they may decide to attack you (trust me, you don't want that).
|
||
|
|
Once all the wights are gone move ashore and to the east. You will eventually come upon two more groups of thrall (shown on the bottom map to the left). It will really be to your benefit if you can keep a dwarf alive long enough to fight these groups. Without one you may find yourself in some trouble. If you know where to run to, you could probably escape without a fight, but if not then just eliminate them (as I did here).
The picture to the left shows why you have to be careful with dwarves. I was doing well eliminating thrall with my dwarf until my warriors felt the need to join in. As a result, I lost four of them in the dwarven blast, and the other four died bringing down the remaining thrall. After this battle I had only my archers, the dwarf, and my journeyman.
|
After killing the thrall, keep moving towards the east. You will see some wights and clusters of trees. At the same time, a large group of thrall will appear behind you. Keep moving forward, killing the wights as they get in archer range. Do not engage the thrall; you might be able to kill them but there is no point in it when the escape is so near.
|
Upon killing the wights, move your troops into the tunnel. If you have trouble finding it, look at the location on the map in the picture to the left (click the picture for a larger view). Move your troops until they turn blue on the map. The computer will then walk them to safety. You have now completed Mission 5! This was a challenging and fun level.
|