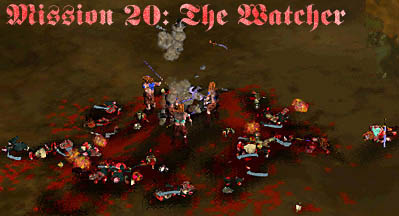
|
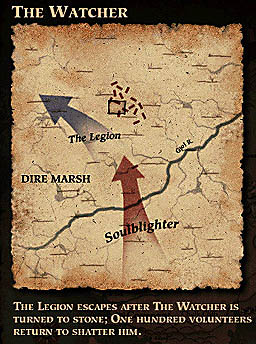
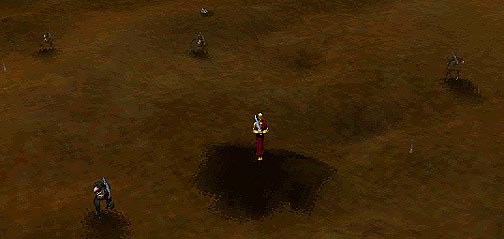
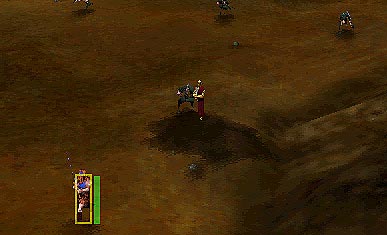
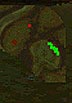
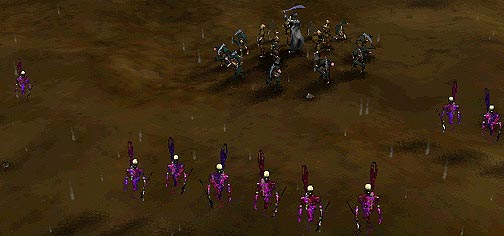
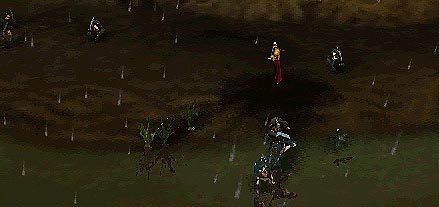
This is the 20th mission of Myth: The Fallen Lords. While you were delaying Soulblighter, Alric sprung his trap on the Watcher. Archers attacked the Watcher with arrows tipped with bone fragments from his arm. This turned him to stone. But it did not kill him. Thirty berserks who accompanied the archers were unable to deliver the final blow to his stone body before they were all killed. No one in the Legion wanted to leave such a powerful enemy behind to be rescued, so one hundred men volunteered to finish the job and smash the Watcher's stone body. Right from the beginning it is obvious that you don't get one hundred men. You get eighteen. No problem. With only eighteen troops, it is important to focus on the objective of shattering The Watcher and not bothering too much with killing lots of stuff. I started out by heading directly west towards the swampy area. A small number of Thrall will come up out of the water, but it is easy to deal with them. At this point, detach one berserk to use as a scout. Scouting to the south will reveal a lot of impassable terrain, but continuing west will lead to a nasty surprise, a shade. The shade has the ability to destroy all your berserks without breaking a sweat if it is charged by the whole group. It is possible to destroy it is you approach the situation right, but I decided that discretion is the better part of valor and proceed to move around it. I left the berserk there to keep an eye on this particular unplesantry while I moved north as far as I could go. Occasional groups of Thrall would spring up, but they are easy to kill. Staying as far north as possible, I headed west. You will come to a river which the shade cannot cross. Cross it and continue heading west to another river. When your troops are in the position to the left, the shade will start heading toward your lone berserk. You need to distract the shade with the berserk to buy time for your other troops move closer to The Watcher. Use presets (Shift-click) to run in circles for awhile, the shade will chase you. While this is going on, you need to move your other troops south. There is some nice scenery on a blood-soaked hill nearby, the remnants of the previous mission. Head to the far-west end of the second pool and continue south, as shown in the map to the side. A lone Ghol is chasing me, but ignore it for now. The goal of all this is to get as far south as possible. You will come to an impassable river, but will be very close to The Watcher. This will cause the shade chasing your berserk to teleport to the river near your troops. He will bring many Soulless and Ghols with him, but they will be on the other side; not much of a threat. When the Soulless begin to cross, retreat back north, stopping near the bloody hill. Some Ghols may have made it to this area, so deal with them. Then line up and wait for the Soulless. Lure them as far away from the south pool as you can and then engage them. You should easily kill them all with minimum damage before they can make it over the impassable water. Now head south around the east edge of the pool. You will come to a peninsula and will see the Ghols and the shade trying to find a way across. Don't get too close, as at this geographical location, the Ghols can hit you with thrown Wight parts. Leave an injured berserk on the peninsula to keep an eye on the group, and bring the rest of your troops across the river. Cross at the place where the shadow of your impaled comrade falls across the river. The Ghols and shade will be too preoccupied with the lone berserk to follow chase the larger group. Take the groups of berserks and head to the south east. Mop up the random Ghol who will be roaming around, but don't stray too far west. Take pains to chase the Ghols down with a minimum number of troops so that the occasional Wight-bomb won't injure too many of your troops. After you clean up, regroup in the hilly area to the south. Scout around until you come upon the ramp up the hill. There will be a line of Soulless guarding it. Line your troops up and charge the Soulless. Define three groups of berserks, left, center, and right to go after the corresponding Soulless. The berserks will predictably mow through the Soulless. The Watcher is just a few feet to the North. He is surrounded by Thrall, Ghols, and Soulless. The Soulless waiting in front of him are the first target, so line up again and repeat the process of attacking them with one group of berserks for each group of Soulless. The Ghols will throw Wight-bombs at any berserks who get too close, so don't let your entire force charge into range all at once. After the Soulless are dealt with, begin working over the Ghols. The Thrall will most likely just stand there and in any case, aren't hard for the remaining berserks to kill. When the way is clear, start pounding on The Watcher. Remember the shade and Ghols your lone berserk is staring at? Well, they are all still there. One berserk effectively eliminated eight Ghols and one shade by doing nothing more than standing still. |
 |
This mission was hard. I certainly didn't finish it the first time through. In this instance, I think I did pretty good I'm a big fan of hunting down the objective rather than having a slug-fest. Interestingly enough, I'd never had any berserk live long enough to get 11 kills, let alone all in one mission. Good luck! |