by David Shaw - SatanTM on bungie.net
|
This is the second Mission of Myth: The Fallen Lords. In this mission, your group has discovered that the Mayor of the town of Madrigal (the last city that has not been taken over by the Fallen Lords) is planning to betray the Nine to the Fallen Lords and give them your plan to besiege the city. You have to kill him before he can meet with the Fallen Lords.
Having finished the first level, you will now have some appreciation for the power of dwarven explosives. This level will only exemplify that. You will also learn to use two new units in the second Mission: the Journeyman and the Archer.
|
|
|
The key to success with archers is to attack from a distance. There is no other unit in the game (including fetch and soulless) that have the range of the archer. Do NOT allow enemy units to get close to your archers (archers are all but useless at close range). The same can be said for the dwarf. This poses a problem on this level because of the ghols. They move fast and attack with little warning. The best advice I can give is watch the ghols at all times, because how you handle them will determine if you win or lose.
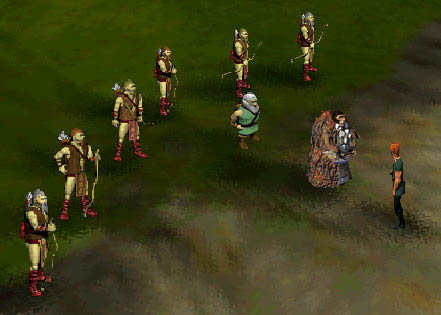
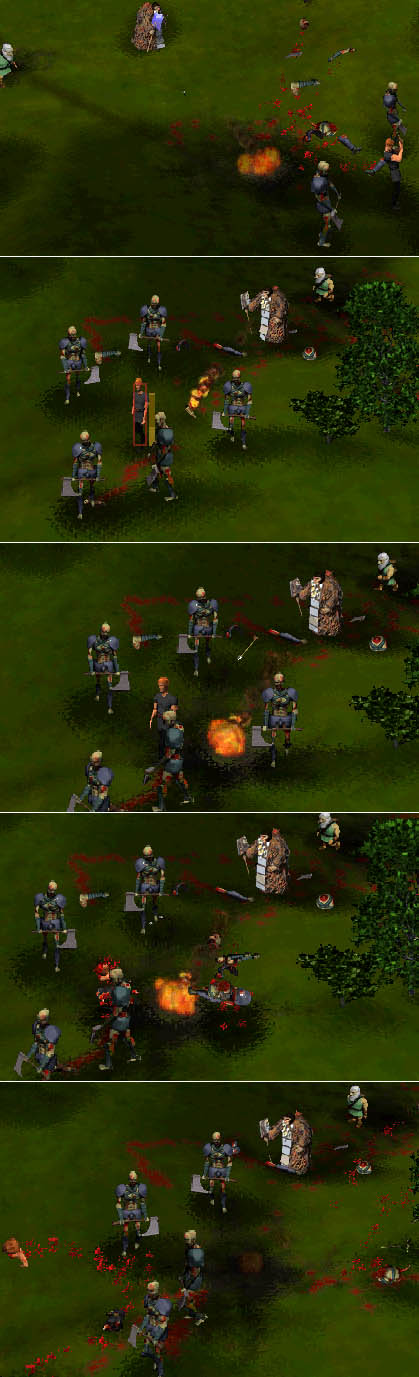
In the picture to the left a townsperson tells your group that he has seen the Mayor at the statue in the middle of town, and he gladly will lead you there so you can kill the vile traitor. Follow him and protect him from the baddies you encounter until you see the Mayor. |
|
|
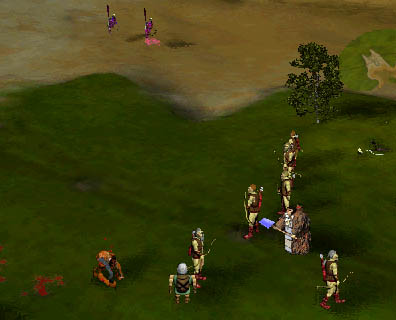
The first wave of attackers will come in two parts. The first is a group of ghols attacking from the right (see the small map. The red in the center of the view (the yellow trapezoid is the view) is the ghol attack, while the red off to the left is the main attacking force of thrall and soulless). Kill the ghols first! Drop a cocktail in front of them and have your archers take them out if they survive. Do NOT let them kill your dwarf, because you cannot complete this mission without him.
After taking down the ghols, go after the main force. Just like on Mission 1, the first thing to do is take out their soulless, because they are the only threat to your dwarf. Use the archers to eliminate them while the dwarf takes out the thrall. This should be pretty easy to do. After the soulless are gone point your archers at any remaining thrall. |
|
|
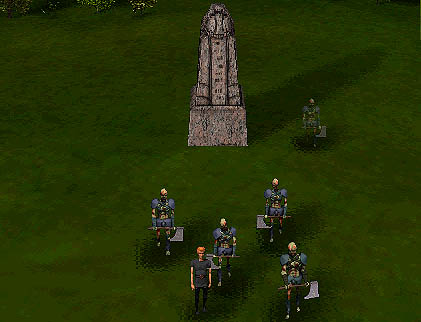
The second wave of enemies is strictly ghols and soulless. Watch those ghols! Let the dwarf and archers hit the ghols first to make sure they don't do any damage. Then go after the soulless. After this second wave, I had to use the Journeyman's healing capabilities to heal one of my archers. You may want to do the same for any injured units you have (select the journeyman, hit "T" and click on the wounded unit). A journeyman has the same offensive power as a warrior, but the real benefit of having one is being able to heal you wounded units. Take advantage of this ability. |
|
|
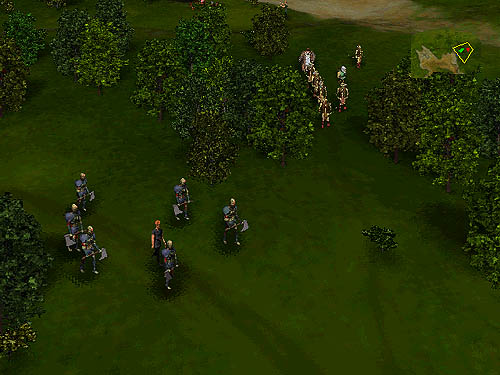
Here's a good plan: use your archers to attack the thrall that come out of the woods to protect him, and forget about them. They will fend for themselves, and who really cares if a few die. Take the dwarf and journeyman and give chase. When they catch up, use the dwarf to do your dirty work. It should be a cakewalk for him if he has managed to get this far alive. |
|
|
In this level I lost two archers to the thrall in the last leg of the forest, mainly because I was ignoring them in my quest to blow up the Mayor. They can walk faster than the thrall, so you should be able to keep them alive if you care enough to try. |