The film for this walkthrough is available at the bottom of this page.
by David Shaw - Roland of Gilead on bungie.net
|
This is the sixteenth mission of Myth: The Fallen Lords. After escaping the first trap of the Tain, you find yourself nearer the exit. There is still one trap to overcome, however, and it is more dangreous than the last (although not any more difficult).
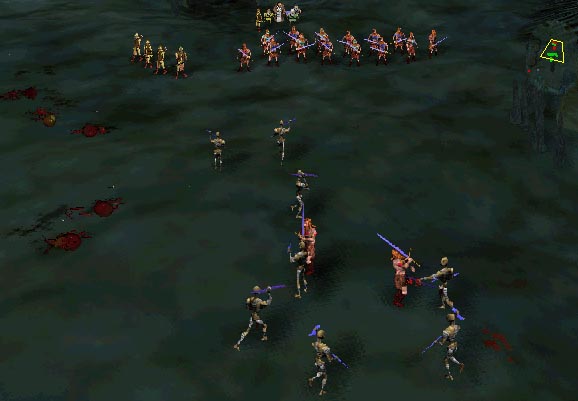
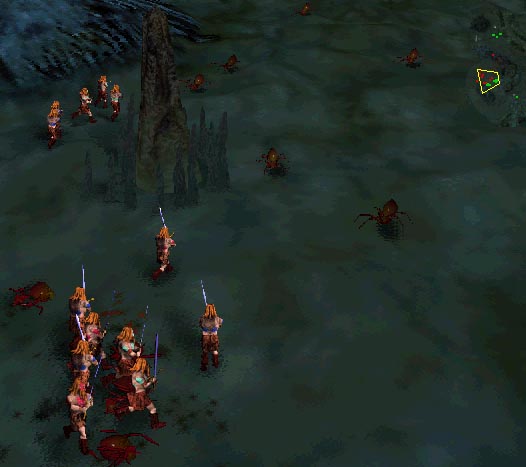
Your primary units will be the berzerks and dwarves, although the archers and journeyman may prove useful depending on your fighting style. If you have been reading all my walkthroughs, I'm sure you have noticed that in the higher levels, I have dispensed with information about placing units, formations, etc. I am assuming that after completing the solo campaign to this point, you have become comfortable with these basic skills needed to play Myth. I hope this is not a problem. At the start of the level, you'll see some spiders walking a partrol. Use your archers to kill them, while bringing your berzerks to the front to face the real wave 1. Wave 1 is one of only two non-spider attacks on this level. A group of myrimidon (as well as a couple of doomed berzerks) are warped in (see picture, left). Kill them with your berzerks. |
|
|
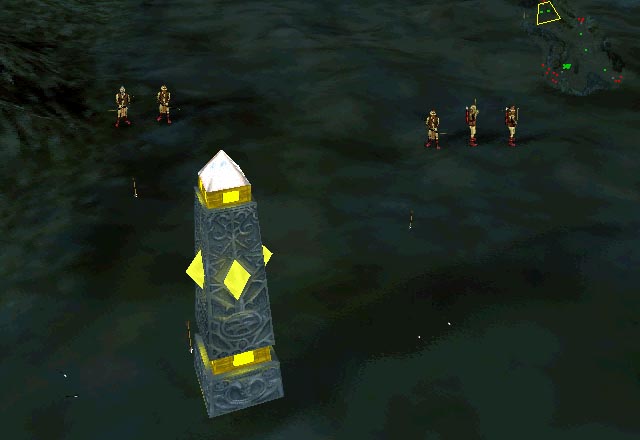
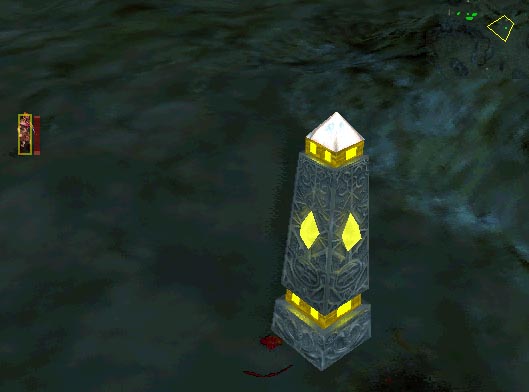
After killing the myrims, I set up my troops to solve the puzzle. There are four pylons like the one shown in the picture to the left. If you try to walk your troops past any one pylon, it will fry your guys quickly and painfully. The trick is this: if you stand some guys fairly close to any one pylon, it will start to glow (as shown in the picture with the archers). While the pylon is glowing, all the other pylons will remain dim (and dim means inactive... i.e. it won't hurt you). You can go into each of the other three areas, one at a time, and get what you need to escape the level.
The map to the left shows my unit setup. As mentioned, I first took my archers to the northwest-most pylon and made it glow. I put the archers in guard mode so they wouldn't wander into the trap and get fried. They spent their free time picking off spiders on the other side of the pylon with their arrows. I then sent one dwarf to each of the other pylons. Behind each, there are spiders running in a circular path. They will not attack your units, so use the dwarves to kill them and get veteran dwarves for later (see picture to the left, and note the dim pylon). Meanwhile, I took all the berzerks to one pylon. I started in the southwest, as you can tell by the large force on that part of the map above. Each pylon guards a "pearl", a glowing thing as shown in the banner. The berzerks have to go in first and clear out the baddies so the dwarf can pick up the pearl and take it to the exit warp. |
|
|
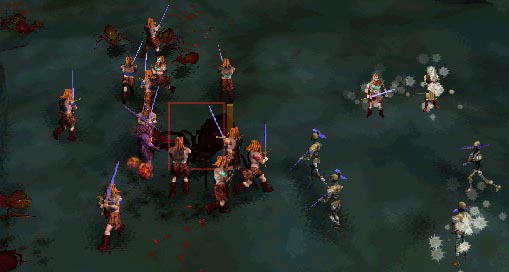
The first part of this wave is shown to the left. I went to this pylon first for a reason. This one is the most difficult, because in additon to the bevy of spiders, there are more myrimidon that must be killed, and healthy berzerks are good berzerks.
While finishing off the spiders, you'll see something new. It's a giant, darker, poisonous spider. This is the Spider Queen, and there is one to protect each of the four pearls. The spider queen is not that difficult to kill, but it's wise to commit as many berzerks to killing it at once as possible. The second part of this wave (myrims and the queen) are shown in the second pict to the left. Once you finish them all off, bring in the dwarf to get the pearl (the shiny glowing thing). Make him take it up to the gate to the left of the archers. There's a little metal pit in front of the gate that he needs to throw it in (you'll see it when you get there, and he will throw automatically or you can do it manually). Bring the berzerks out and heal them if needed, then move on to the second pylon. |
|
|
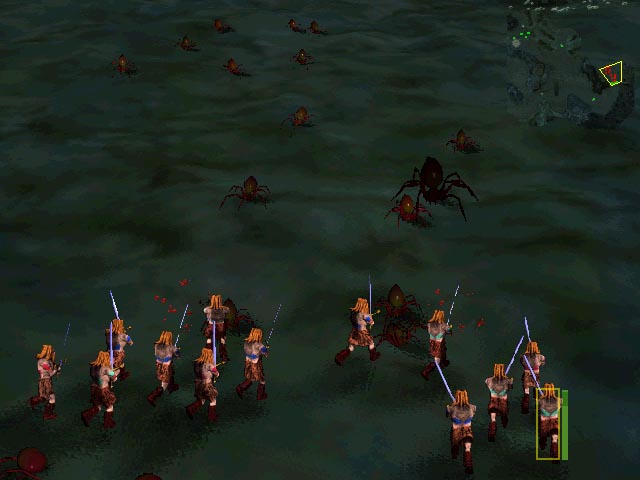
The next two pearls are more of the same, but easier, because there are no myrimidon. Just go in with berzerks, kill all the spiders, and bring in the dwarf for the pearl. You can see my guys fighting for the second pearl in the picture to the left (southeast). The key to fighting this many spiders is simply to stay together. One berzerk can kill one spider easily, but three spiders against one berzerk is a toss-up. Don't give them the chance to hurt you.
|
|
|
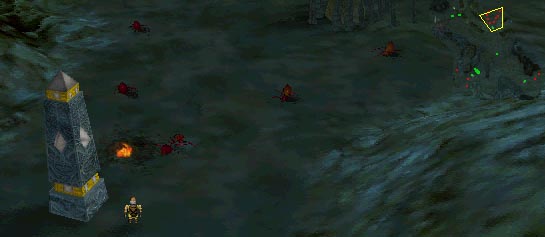
Once the final pylon is deactivated, go in and kill the remaining spiders, and get the final pearl. You must reuse one of your dwarves, so he has to put the other pearl in the cup (see picture to the left). With all four pearls in the cup, the exit forms and you walk your guys through it to complete the level.
I lost a total of four berzerkers and one archer. Of those, two berzerks and the archer were warped in separate from the rest of my units along with the myrims, and died before I could help them. So in reality, I lost only two berzerks, while killing 83 spiders, 12 myims, and 4 spider queens. Not bad.
|