|
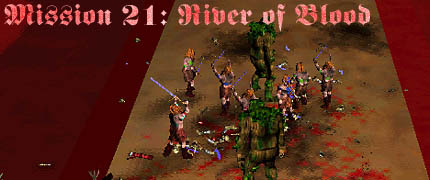
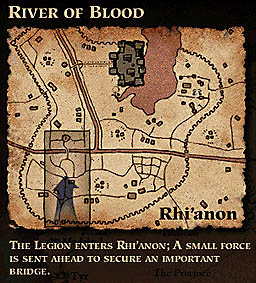
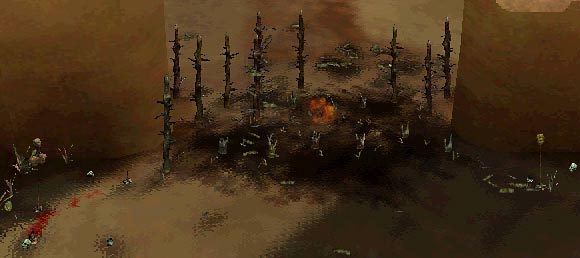
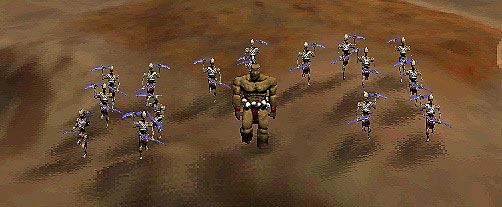
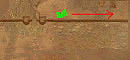
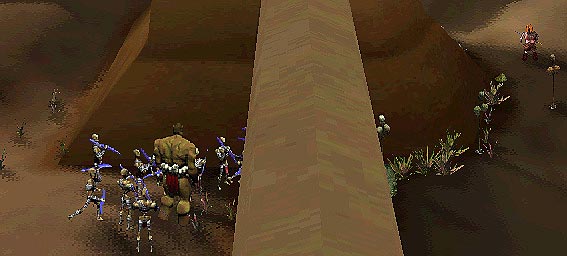
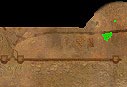
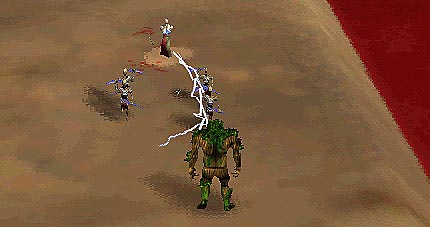
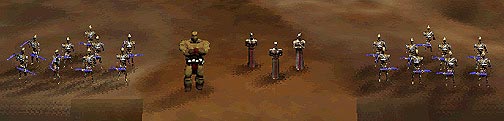
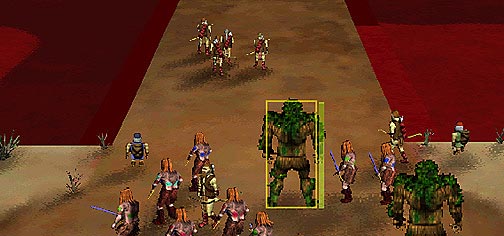
This is the 21st mission of Myth: The Fallen Lords. The Legion has finally reached Rhi'anon, the ruined Trow city within which Balor has made his fortress. Since it is is the nexus of Balors power, it is overflowing with the minions of the Fallen. Alric is aware that a full scale attack would be a useless gesture at this point. The Legion is still a ways from Balor himself and the road ahead must be secured for the Legion to have any hope of making it to him. The focus of the anxiety over the road ahead is the bridge crossing a river of blood. Alric feels that if the Legion just marched in, the Fallen would just destroy the bridge, so he has sent a small contingent ahead to secure the bridge. You start with forest giants, dwarves, archers and berserks. Rest assured, you wouldn't get so many troops if you didn't need them all. I started out by running one berserk to the right all the way to the end of the map. This will distract some troops and be helpful later. The next thing which you must do is to destroy the gate into the city. As you approach, you will notice a line of Myrmidons waiting for you. Bring some arches up and scare them away. Then line up your dwarves (not too close) and start hurling cocktails. Obviously you want to move your archers back before you begin the barrage. Once the barrier is cleared, you want to slowly move your troops forward. I choose to lead with the forest giants and berserks. Position them slightly to the right so that your archers aren't obstructed, but don't let them stray too far from the wall or the Myrmidons will attack before you are ready. When enough troops come through the gate, the Myrms will attack. Mop up the first wave but don't let your berserkers charge the next group of enemies because you need a coordinated assault to deal with the Trow. Move the giants off to the left and engage the group with the berserkers. Then swing in from the side with the giants. Focus them on the Trow if possible, but don't ignore any Myrmidons attacking them. After this battle, regroup as close to the wall as possible and head to the right. Don't wander too far from the wall or you will see things which you really don't want to see you. Head right until you come across the troops your berserk was distracting. Now, they will notice you at some point, but because you know they are there you can prepare. Focus the giants on the Trow, but again, don't ignore the Myrmidons especially if they are between the giants and Trow. After you're done, check out the easter egg on the wall. Regroup here, placing the archers in a loose formation to the front to give them a clear shot, berserks loose behind them and dwarves to the side. The giants I held on the right side of my formation. Then scout ahead with a single berserk. As the berserk clears safe terrain, cautiously move up. Soon your berserk will come upon a Fetch. Don't worry, there are more to come. Lead the single Fetch into range of your archers so they can dispose of it. Now the fun starts. Your archers won't be able to kill the Fetch coming your way all on their own. So send 3 berserks to the left and 1 giant to the right to act as a buffer to the archers. Run the berserks to the Fetch, but don't let them group up too close or one bolt will hurt them all. Send the giant in too and watch those Fetch parts fly. As a side note, Fetch don't hurt giants as much so you could just run your giants into the group and kill them that way. Now the way is clear for you to continue north. Stay as far to the right as you can; you're still avoiding all sorts of hurt. You'll come to the river. This is a good place to regroup. Set up the archers in front, giants to the front and berserks loose behind the archers. Small groups of Fetch and Myrmidons will come at you, but you can take care of them easily by doing the following. Move a giant up and wait. When the Fetch is in range of the archers, move the giant up to engage. The Fetch will shoot the giant, killing Myrmidons, while your archers kill the Fetch. The giant will take minimal damage from the lightning and stomp the damaged Myrmidons. This tactic will work for any other group of the same composition which comes your way. When things settle down, send a berserk to scout the way down the river. Again, hug the river as much as possible. When it seems appropriate, move your remaining troops forward to the bridge. If your strike force had been hacked to pieces, don't worry - reinforcements will arrive as you approach the bridge. Waiting for you on the other side is a force of Myrmidons, Fetch and a Trow. Start by moving putting your remaining dwarves on either side of the bridge. Then send your giants about 1/3 of the way across. Then move up your archers and attack the Fetch. This should bring them out onto the bridge. If you're lucky you can kill all three without any trouble. If they start decimating your archers, run a giant up to finish them off. Killing the Fetch or running past the 1/2 way mark will bring out the Trow. Retreat your archers and bring up berserks. Greet the Trow with a hearty welcome from your troops. After he goes down, back off the bridge as the Myrmidons will be coming. Throw cocktails at the charging Myrmidons, then run the dwarves back and engage with the remaining melee troops. |

