The film for this walkthrough is available at the bottom of this page.
by David Shaw - Roland of Gilead on bungie.net
|
This is the seventeenth mission of Myth: The Fallen Lords. Soulblighter fled when the Tain shattered. Two of the Nine died inside, however, and with the deaths and civial war in the West, only three of the Nine are still alive. Things are not going well at all for the Light.
The story of the Sons of Myrgard is one of great bravery. The dwarves returned to their homeland to take it back from the ghols that had overrun it. Ghols and dwarves are mortal enemies, and this battle was for more than land. It was for honor. You start the level with one dwarf. I know it seems unfair, but this is no ordinary dwarf. In fact, he's not even an ordinary dwarven hero. Meet Balin, the Pathfinder. Balin should be called "Baline the Ghol Killer", because it's a bad idea to be a ghol when he's around. My strategy for this level is not typical. It's not what you are "supposed" to do. All the same, it's a lot of fun, and I finished with no casualties. |
|
|
When the level starts, your dwarf is invisible. While he is invisible, no ghol or soulless will attack him unless he makes a noise (i.e. walks in the water, throws a grenade, etc). You are supposed to sneak Balin in past the soulless and then call in reinforcements. When I found out how good Balin was, I decided to do it differently.
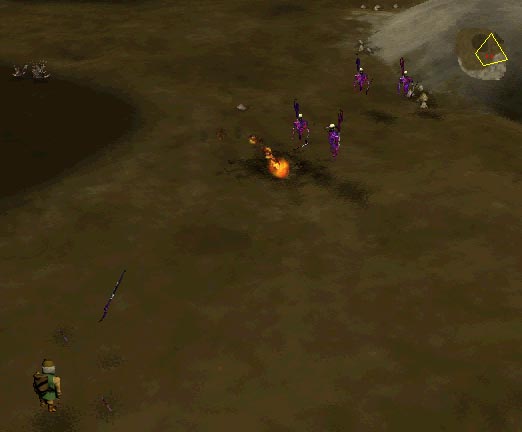
Immediatly after starting, I threw a cocktail at the ground to the north. This made me visible and sent the ghols coming. The ghols will all come to attack you, in SINGLE FILE. Well, Balin can toss cocktails very quickly. If you just attack the ghols as they get in range (not moving yourself), they will all come over and die, one after another. There are about 13 or so in the first wave (shown in the picture to the left). The next wave is the soulless that were guarding the gate you were supposed to sneak through. They will come as two groups of two (shown in the picture to the left). The well-placed cocktails should kill all four (two per shot). Balin may take a few spears in this exchange, but he's strong enough to survive it. Once the soulless are dead, you can move more freely. There are no more enemies on this side of the gate. Move Balin up to the gate to the east. The gate is just two hills with spikes sticking up out of the ground in between them. |
|
|
When you get to the spikes, four more ghols will come into sight. Use Balin to kill the all. Just watch your back and you should have no trouble. Balin can fire faster and straighter (less arc in the throw) than a regular dwarf. Plus, he doesn't seem to ever miss, which is a good thing when the ghols attack.
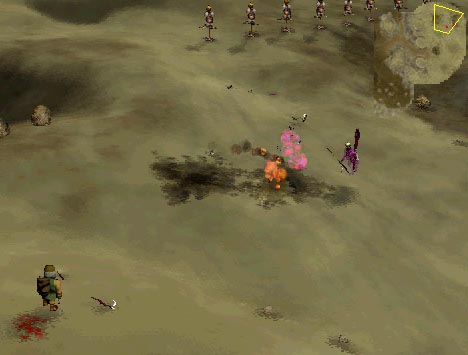
Once the four ghols are dead, move to the northeast, killing any individual ghols you meet. When you get there, you'll see some soulless, ghols, and some attacking dummies. Use your terrain advantage to kill the soulless first. These are the last real threat to Balin, so kill them. Once they are dead, kill any other ghols in the area. The map to the left shows the other ghols I found in the area. There is also a large cage made of spikes and filled with wight parts. Throw a grenade into it and run. The parts will all explode. Ghols apparently "farm" wights so that they can have more ammunition for throwing at their enemies. Kill all the remaining ghols and go to the North gate. |
|
|
When you get to the gate to the caves, Balin will say something to the effect of "I'd better wait for backup." Ignore this, and go on in. When you get in there, you'll see ghols guarding holes. These ghols are the lookouts. Kill them. If you try to attack them directly, they may flee or charge you. However, if you control-click on the ground near them, you can kill them and they will just sit there, oblivious (see picture, left). Kill all the ghols inside the ghol cave city this way.
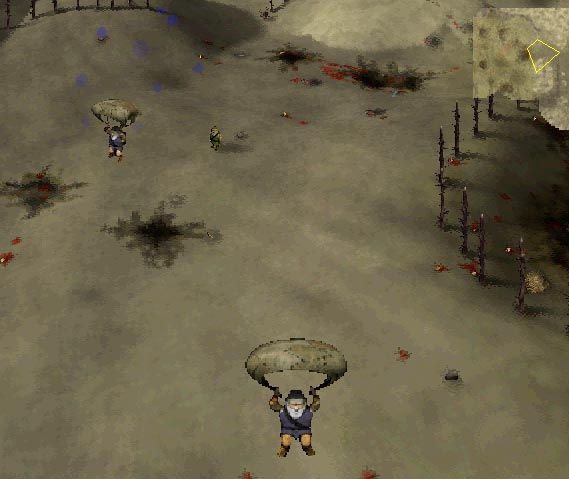
Once all the ghols in the city are dead, go back out the north gate. It's time to call in your buddies. Hit the "T" key and click on a spot. Balin will throw a blue smoke grenade, and your paratroopers will arrive. Normally, you would get 10+ dwarves to help you. However, the way I did it, I only got three dwarves, possibly because I went in and killed the ghols inside already (see picture). In any case, gather your dwarves up and get ready to go back into the cave city. Take your dwarves and go into the cave city again. The ghols in the holes will now come out to attack. Flank the holes with your other dwarves while Balin does most of the killing from the front. You can see this in the image to the left. Go to each hole in turn, killing all the ghols. In two ot the holes, there will be wights. When the come out, kill them from a distance with Balin. It's not a problem as long as you make sure you are paying attention when the attacks come. At almost every hole, you will be attacked from two directions at once. Be prepared, and take the high ground whenever you can. |
|
|
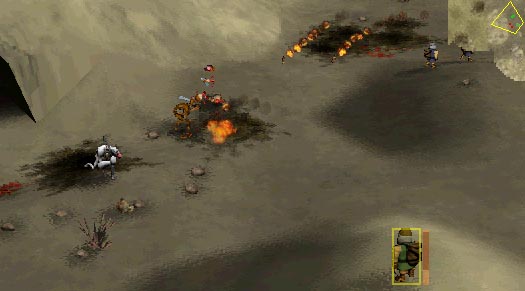
After clearing out all the holes, move out of the south gate, destroying the spikes as needed to pass through. You'll see a few ghols, plus another pen. This pen is filled with live wights rather than puss packets like the other one (see map to the left). Kill the ghols, then use Balin to destroy the wights without getting too close.
Kill any other ghols hanging around the area (there should probably be four or so). Upon completing this, you may have win the mission. If not, go back into the caves area and go to the northmost cave. Kill the ghols that come out, and you will have completed the mission. As I said, I had no casualties. Balin rules. Luckily, you get to use him in another level as well (the secret one). My score is to the left.
Download the Film |