by David Shaw - SatanTM on bungie.net
|
The premise of this level is that the Light is planning an attack on the forces of the Dark at Madrigal (Madrigal is one of the last cities still held by the Light). Your forces must create a diversion on the other side of town and draw some of the Dark forces away from the main force of the Light. You have to go through town, get the main enemy force to chase you, and escape back across the bridge.
|
|
|
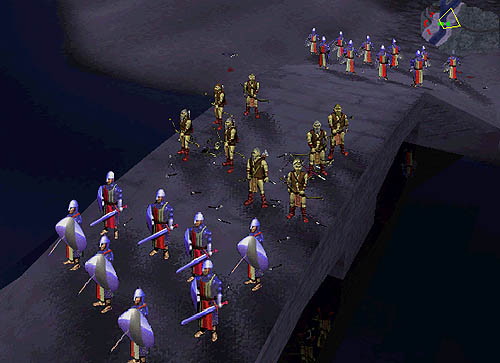
At the onset of this level, you will have two groups of warriors, plus a large force of archers. This is a great well-rounded army and could take on most any opposition.
When the level begins, three groups of ghols immediately will come across the bridge ahead. One group will guard the bridge, while the other two will most likely attack. Send one group of warriors against each of the two groups of attacking ghols (you should kill them easily). You MUST kill all roaming ghols on your side of the river, or they'll sneak up and attack you later when you're busy (and you will be busy on this level, believe me). After killing the attacking ghols, send the archers into range of the last group defending the bridge. When they start getting hit with arrors, they will retreat across the bridge. Don't give chase. |
|
|
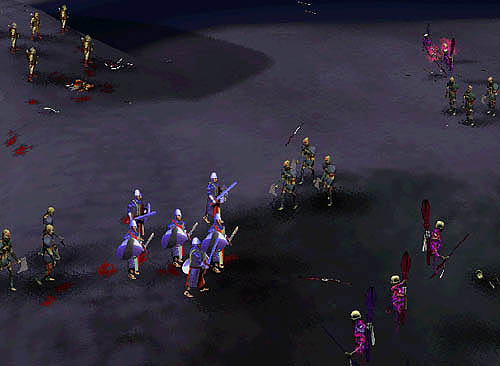
When you cross the bridge, there will be a fairly large force for thrall and soulless that you must kill to continue on your mission. As I have mentioned before, thrall are not really a big threat to archers or warriors. They are relatively weak and walk REALLY slow. The real threat here is the soulless, so be sure to kill them all first.
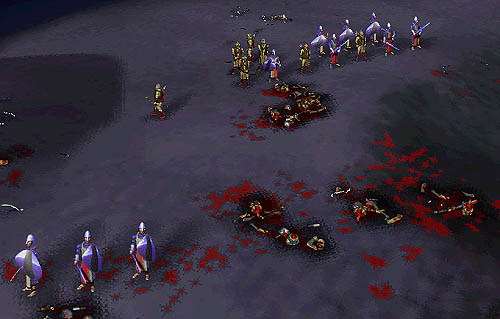
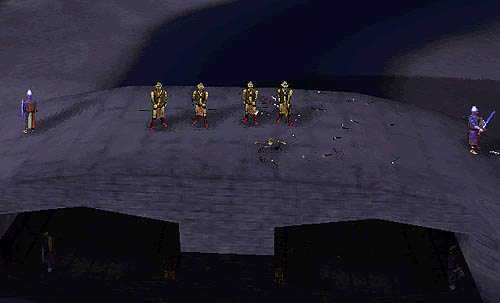
I killed the left group of soulless with archer fire before attacking the rest. Do so if you can. I then attacked the left group of soulless with archers, while a small band of six warriors attacked the soulless in the middle. Meanwhile, I brought the rest of my warriors up to protect the archers from the oncoming thrall attack. This worked out well, because after killing the soulless all six of my warriors in the small band were killed by thrall. After the soulless were dead, the archers and warriors made quick work of the remaining thrall. When it was all said and done I lost 9 of my 18 warriors and one archer in this battle. The troops I had left and the blood-stained battlefield are shown in the picture to the left. |
|
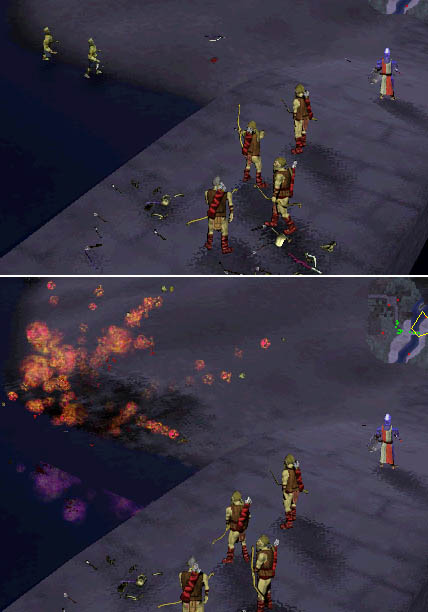
Your only defense against the wight is to blow him up before he gets near you. When he dies, he will explode, killing any units (enemies too) within his range. Use your archers to form two "wight details". Put one on the bridge, guarded by two warriors. Take the rest and go hunting. Once you pass through the town, the wights will start appearing. There will be a lot of them (see the map to the left -- the red dots are all wights closing in on you), Use your groups of archers to kill them before they get too close. Keep your warriors AWAY from the wights -- they can't do anything to help fight these creatures. You can see from this picture sequence why you don't want to be near wights when they explode. |
|
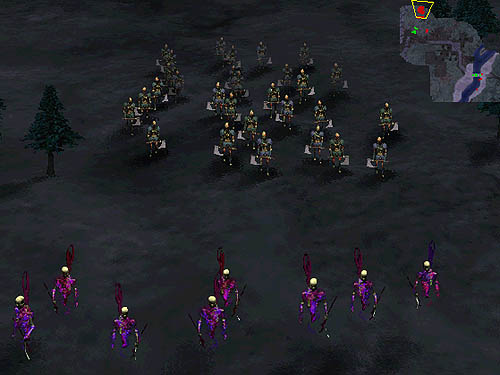
After all the visible wights are dead, leave the archer detail up on the bridge. Take the rest of your army through town and to the north (follow the road). Eventually you'll see a bunch of ghols to the east of the road. Go towards them and you'll see the large force of soulless and thrall (see the picture to the left). Then, run like your life depends on it back to the bridge.
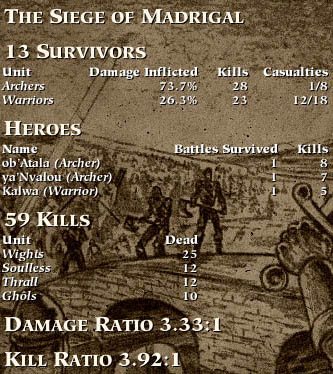
Two things will happen when you see the large force. The first is that the ghols will attack you. Send a few warriors to dispatch them while everyone else retreats. Second, MORE wights will come out of the river to try and stop your retreat. You can see this in the map in the picture of the large force (the red dots near the bridge). This is why you left the archer detail on the bridge. Kill them as they appear. When you get all your surviving units to the other side of the bridge, wait a few seconds and you will be victorious. My results are to the left. I lost a total of twelve warriors and one archer. |