The film for this walkthrough is available at the bottom of this page.
by David Shaw - SatanTM on bungie.net
|
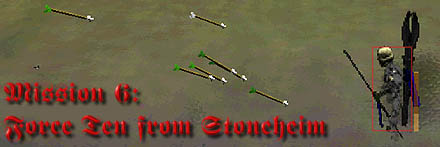
This is the sixth mission of Myth: The Fallen Lords. The battle against the Fallen is getting more serious. Two of the Nine generals for the Light, Rabican and Maeldun, are preparing for a great battle with the Watcher.
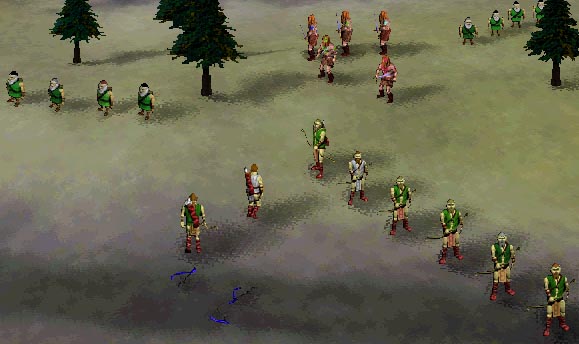
There is a world knot nearby, and the Nine are worried that the Fallen will use it to bring more undead warriors into the battle than can be defeated by the combined forces of the two generals. Your job is to take ten soldiers from the town of Stoneheim and destroy the World Knot before the Fallen can use it against the Light. In order to destroy the Knot, you must blow it up with satchel charges. The only units that carry satchels are dwarves, so you get a large force of dwarves for this mission. If all your dwarves die before you blow up the knot, you will have failed your mission. I do have to say that this is a very fun level. You are given an extremely powerful force to use, and if you are careful and take the path I outline on this page, you can win it easily. When I first played this level, I finished with one dwarf and two archers. With the method I am about to describe, almost all of my few casualties were due to the dwarves blowing up my other units. For this level you get eight dwarves, eight archers, and five berzerkers. The berzerker is a new unit introduced in this level. Think of them as maniacs with double-handed broadswords. They are my favorite unit in Myth, and you'll see why. These guys run as fast as ghols, and when they catch their prey they kick butt.
|
|
|
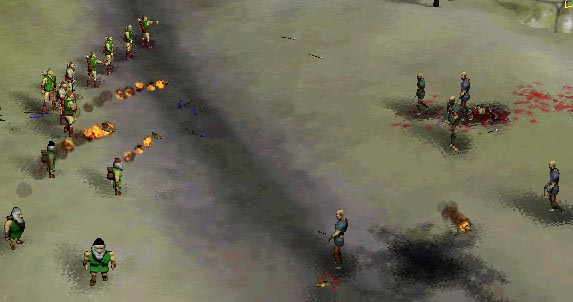
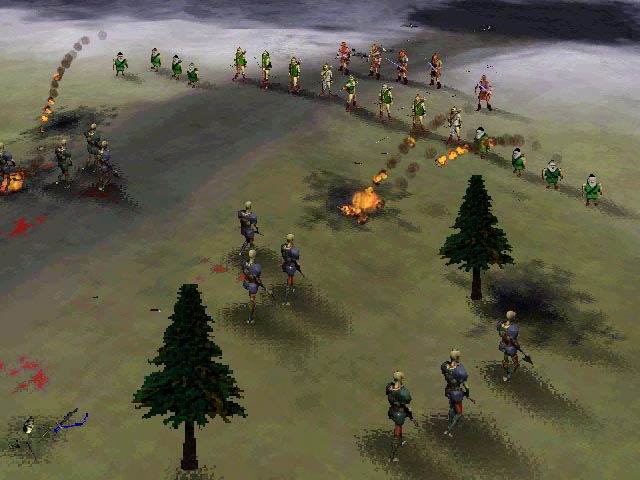
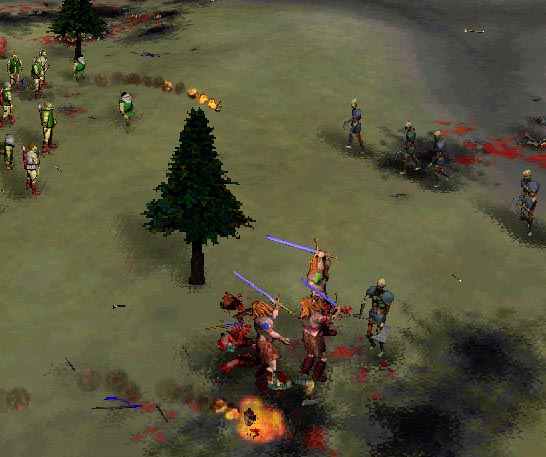
When you start the level, a group of civilians is walking to the shrine to pray. Your berzerker warns them that it's dangerous, but they don't listen. They walk off just as the first wave of enemies comes down the road. This group consists of soulless and thrall. You should really have fun tearing them to shreds with all those archers and dwarves (see the picture to the left). Keep the berzerkers out of it; you shouldn't need them yet.
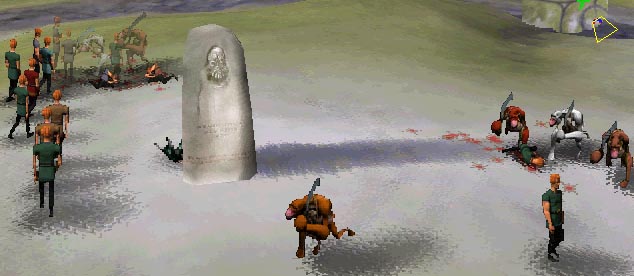
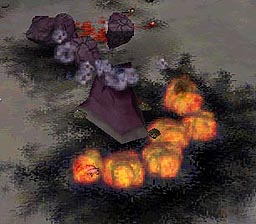
While you are fighting the first wave, the stupid civilians are being slaughered by a pack of wiley ghols. They should have listened to you (see the picture). Notice the detail on the monument -- Bungie did a great job with this level too. |
|
|
Even though the civilians were morons, you should still avenge them and kill the ghols. Besides, if you don't they will kill your dwarves and archers while your berzerks are busy later on. The only good thing about ghols is that they are stupid. Put all your archers and dwarves up on the hill as shown in the picture to the left. Use the berzerkers to corral the ghols toward the hill. The ghols will be sandwiched between archer fire and berzerker blades, and you'll kill them all quickly.
Once you've killed the ghols, it's time to really begin the mission. You could go to the river and fight your way across. But if you did, you would lose some (or many) units. Instead, go down to the southern end of the river and cross at the waterfall (see map to the left -- I'll leave the picture out so you can see it yourself). When you cross here, there will be no attackers, and you will be on better ground to fight later. |
|
|
The second wave I encountered consisted of a few soulless and some thrall. They were easily dispatched with archer fire and a few molitov cocktails. The map of the units from the second wave is shown to the left.
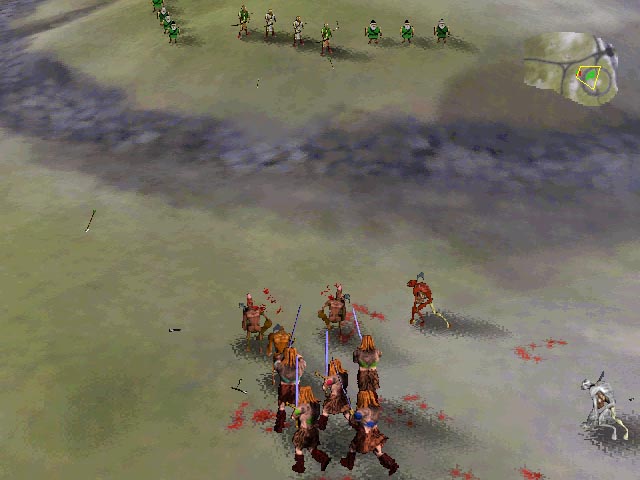
The third wave was directly across the river from the second. They are shown in the map to the left below the second wave map. This wave consisted of more soulless and larger groups of thrall. As you attack the soulless with your archers from across the river, the enemy wave will retreat. Move all your units across the river and form a wall as shown in the picture to the left. When the last soulless dies, the thrall will attack. You should be able to decimate them with your arsenal. The most important thing to remember is to be careful with the dwarves. They can throw cocktails which bounce off trees back into your forces, be blown back at you by other cocktails, etc. Myth's physics are really put to the test with this many dwarves. After you kill these thrall, another pack of ghols will come down to harass you. Do as you did on the hill -- sandwich the ghols between the archers/dwarves and the berzerkers. They should die without too much hassle. |
|
|
Move due east, staying south of the World Knot (you can see the circle to the north where it is on the map) You will encounter two different groups of thrall and soulless. By this point in the mission (and playing Myth in general) you should be comfortable killing them all with minimal units lost. After dispatching them, move up towards the World Knot. Set your units up some distance away, as if prepared for an army to come through the knot that needs to be killed.
Move one unit (like a berzerker or a dwarf) up near the knot until you see it glow. Then run immediately back to your army. A wight will come through the knot and immediately explode, hoping to catch you. He shouldn't if you are at all careful.
|